The Legends Ultimate arcade cabinet has a bunch of games pre-loaded onto it. All you have to do is turn it on (power button is on the right side of the control panel) and you can use the joystick and A button to choose one of the built-in games.
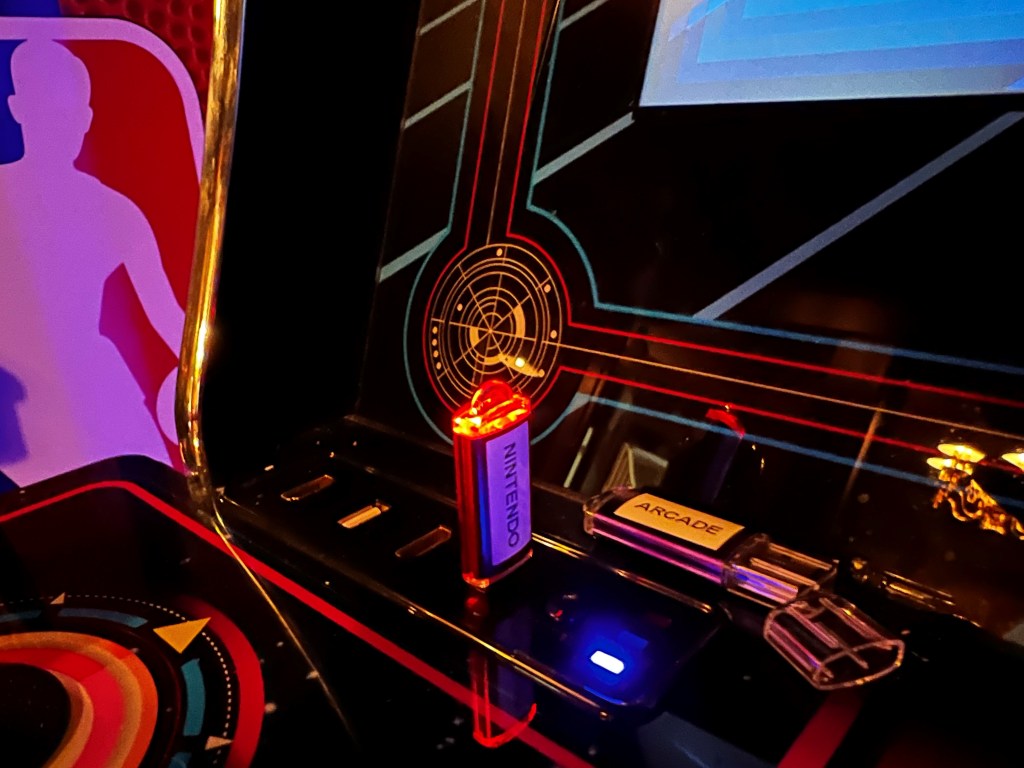
There are additional games available on thumb drives (with labels like “Arcade” and “Nintendo”). Most popular games you might think of that didn’t come with the cabinet are on these thumb drives (e.g. Pac-Man is on the “Arcade” thumb drive, Super Mario Bros is on the “Nintendo” thumb drive). To use one of these thumb drives, take off the cap and insert it into one of the USB slots on the left side of the control panel.
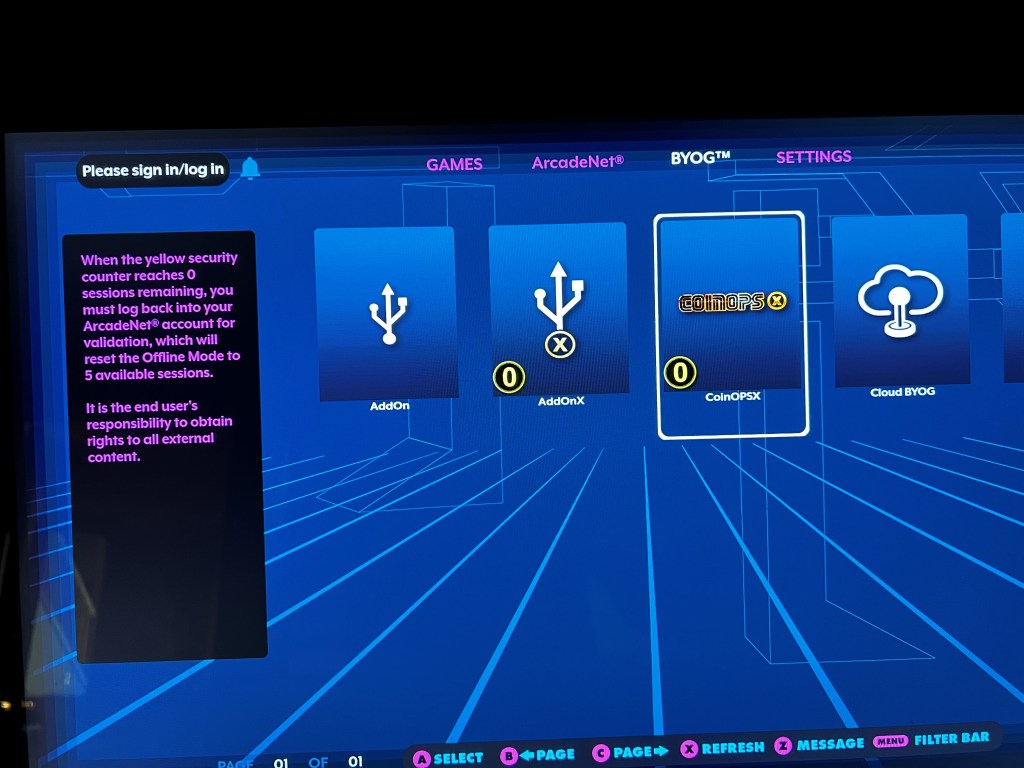
Now use the joystick to navigate to the BYOG section listed at the top of the screen. From there, use the joystick to highlight “CoinopsX” and press the A button. This will take you to a list of the games on that thumb drive. To leave this section you can press the “Rewind” button.
In Coinops you can use the joystick to scroll up and down through game titles and press the A button to launch one.
Other than generally straightening up, there are a few things we’d greatly appreciate you doing before you leave (if you’re here without Matt or Andrea).
PLEASE MAKE SURE THE COMPOST BIN AND GARBAGE ARE EMPTY!!
We made this mistake once…holy hell the smell is powerful if things marinate for a couple weeks. Please make sure the compost and garbage bins in the kitchen are empty.
Laundry
Please wash any sheets and towels you’ve used. You can leave them dried in the dryer if you don’t have time before you leave.
Dishes
Please have all dishes and utensils cleaned and put back.
food
Please take any food you brought back home with you. We don’t know when we’ll be at the Lodge after you, so things might go bad sitting unattended.
Garbage/Compost/recycle
Please take everything with you when you leave, including any bags or boxes you might have picked up during your trip. Also please check the bathroom garbage cans.
Lights
Please make sure you’ve turned off all the lights. The holiday lights inside and outside the Lodge are on timers, so don’t worry about them.
Bathrooms
Please double-check if anything needs to be wiped down before you go.
vacuum
If needed, please sweep the floors and vacuum the carpet. The vacuum can be found in the closet by the backdoor on the main level.
countertops and tables
Please make sure countertops and tables have been cleaned.
Cleaning supplies
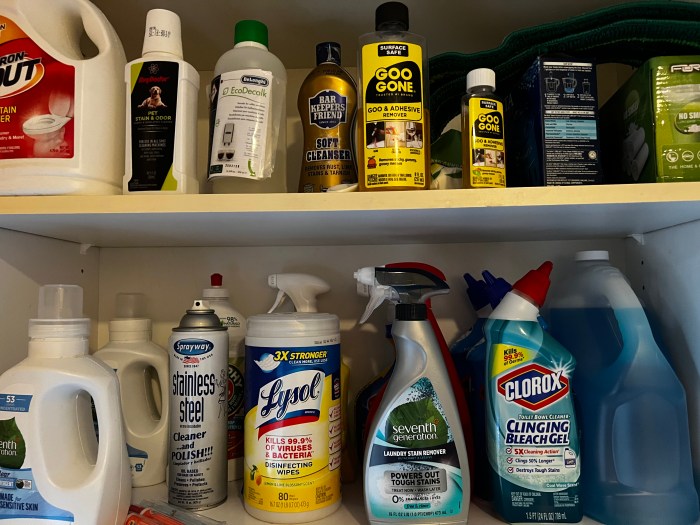
The broom is in the pantry near the kitchen, there are dish cleaning supplies under the kitchen sink, and there are lots of other cleaning supplies above the washer/dryer. Toilet cleaning supplies are under the bathroom sinks.
There are a few different options for playing music at the Lodge.
Alexa
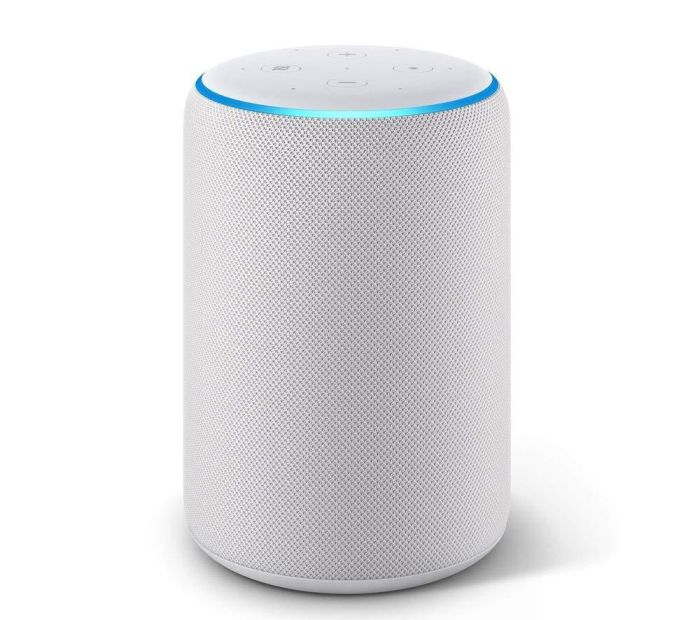
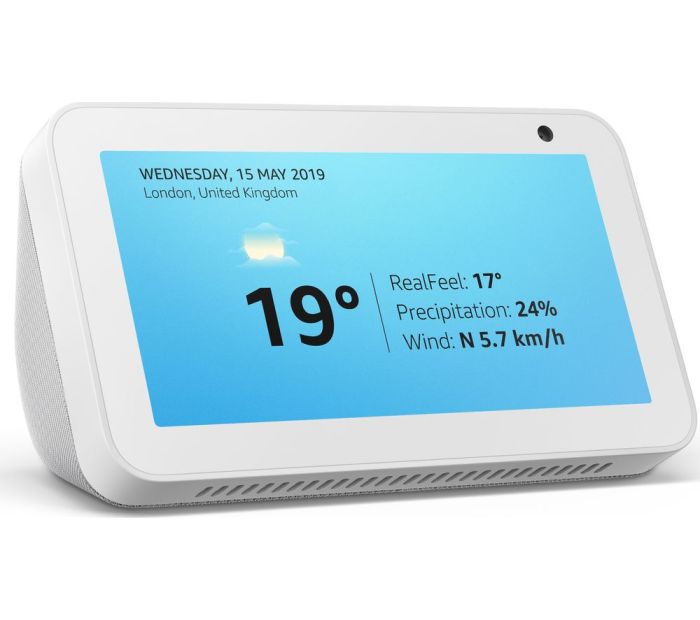
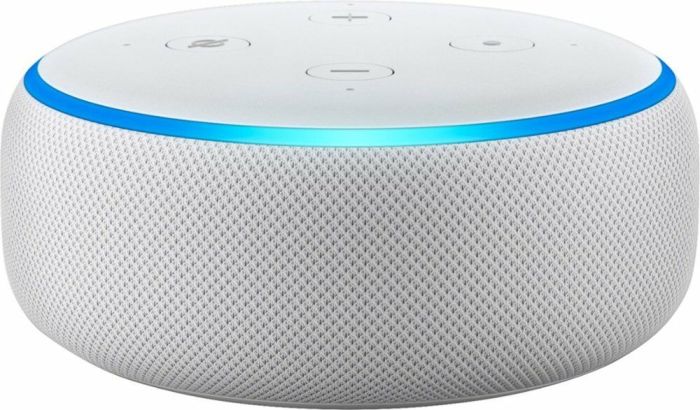
There are several Amazon Echo devices throughout the lodge. If you haven’t used one before, they look like this and can be found in the kitchen, living room, basement, arcade, and main bedroom.
To use these, simply get near one and say “Alexa.” You’ll see a blue bar light up if the device heard the activation word.
At that point you can do things like “Alexa, play Queen’s greatest hits” or “Alexa what is the capital of Bolivia?”
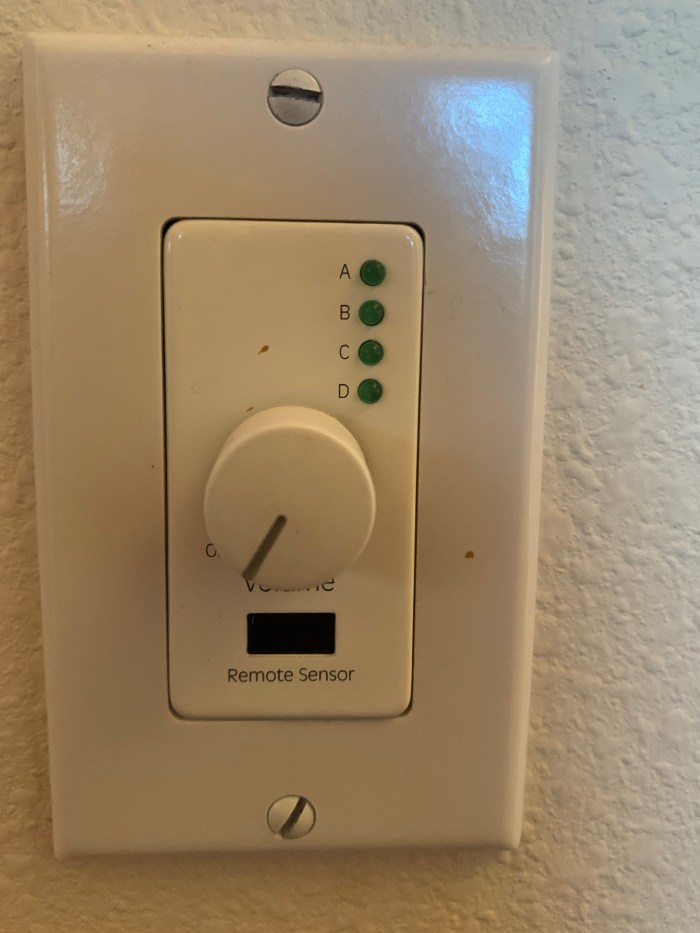
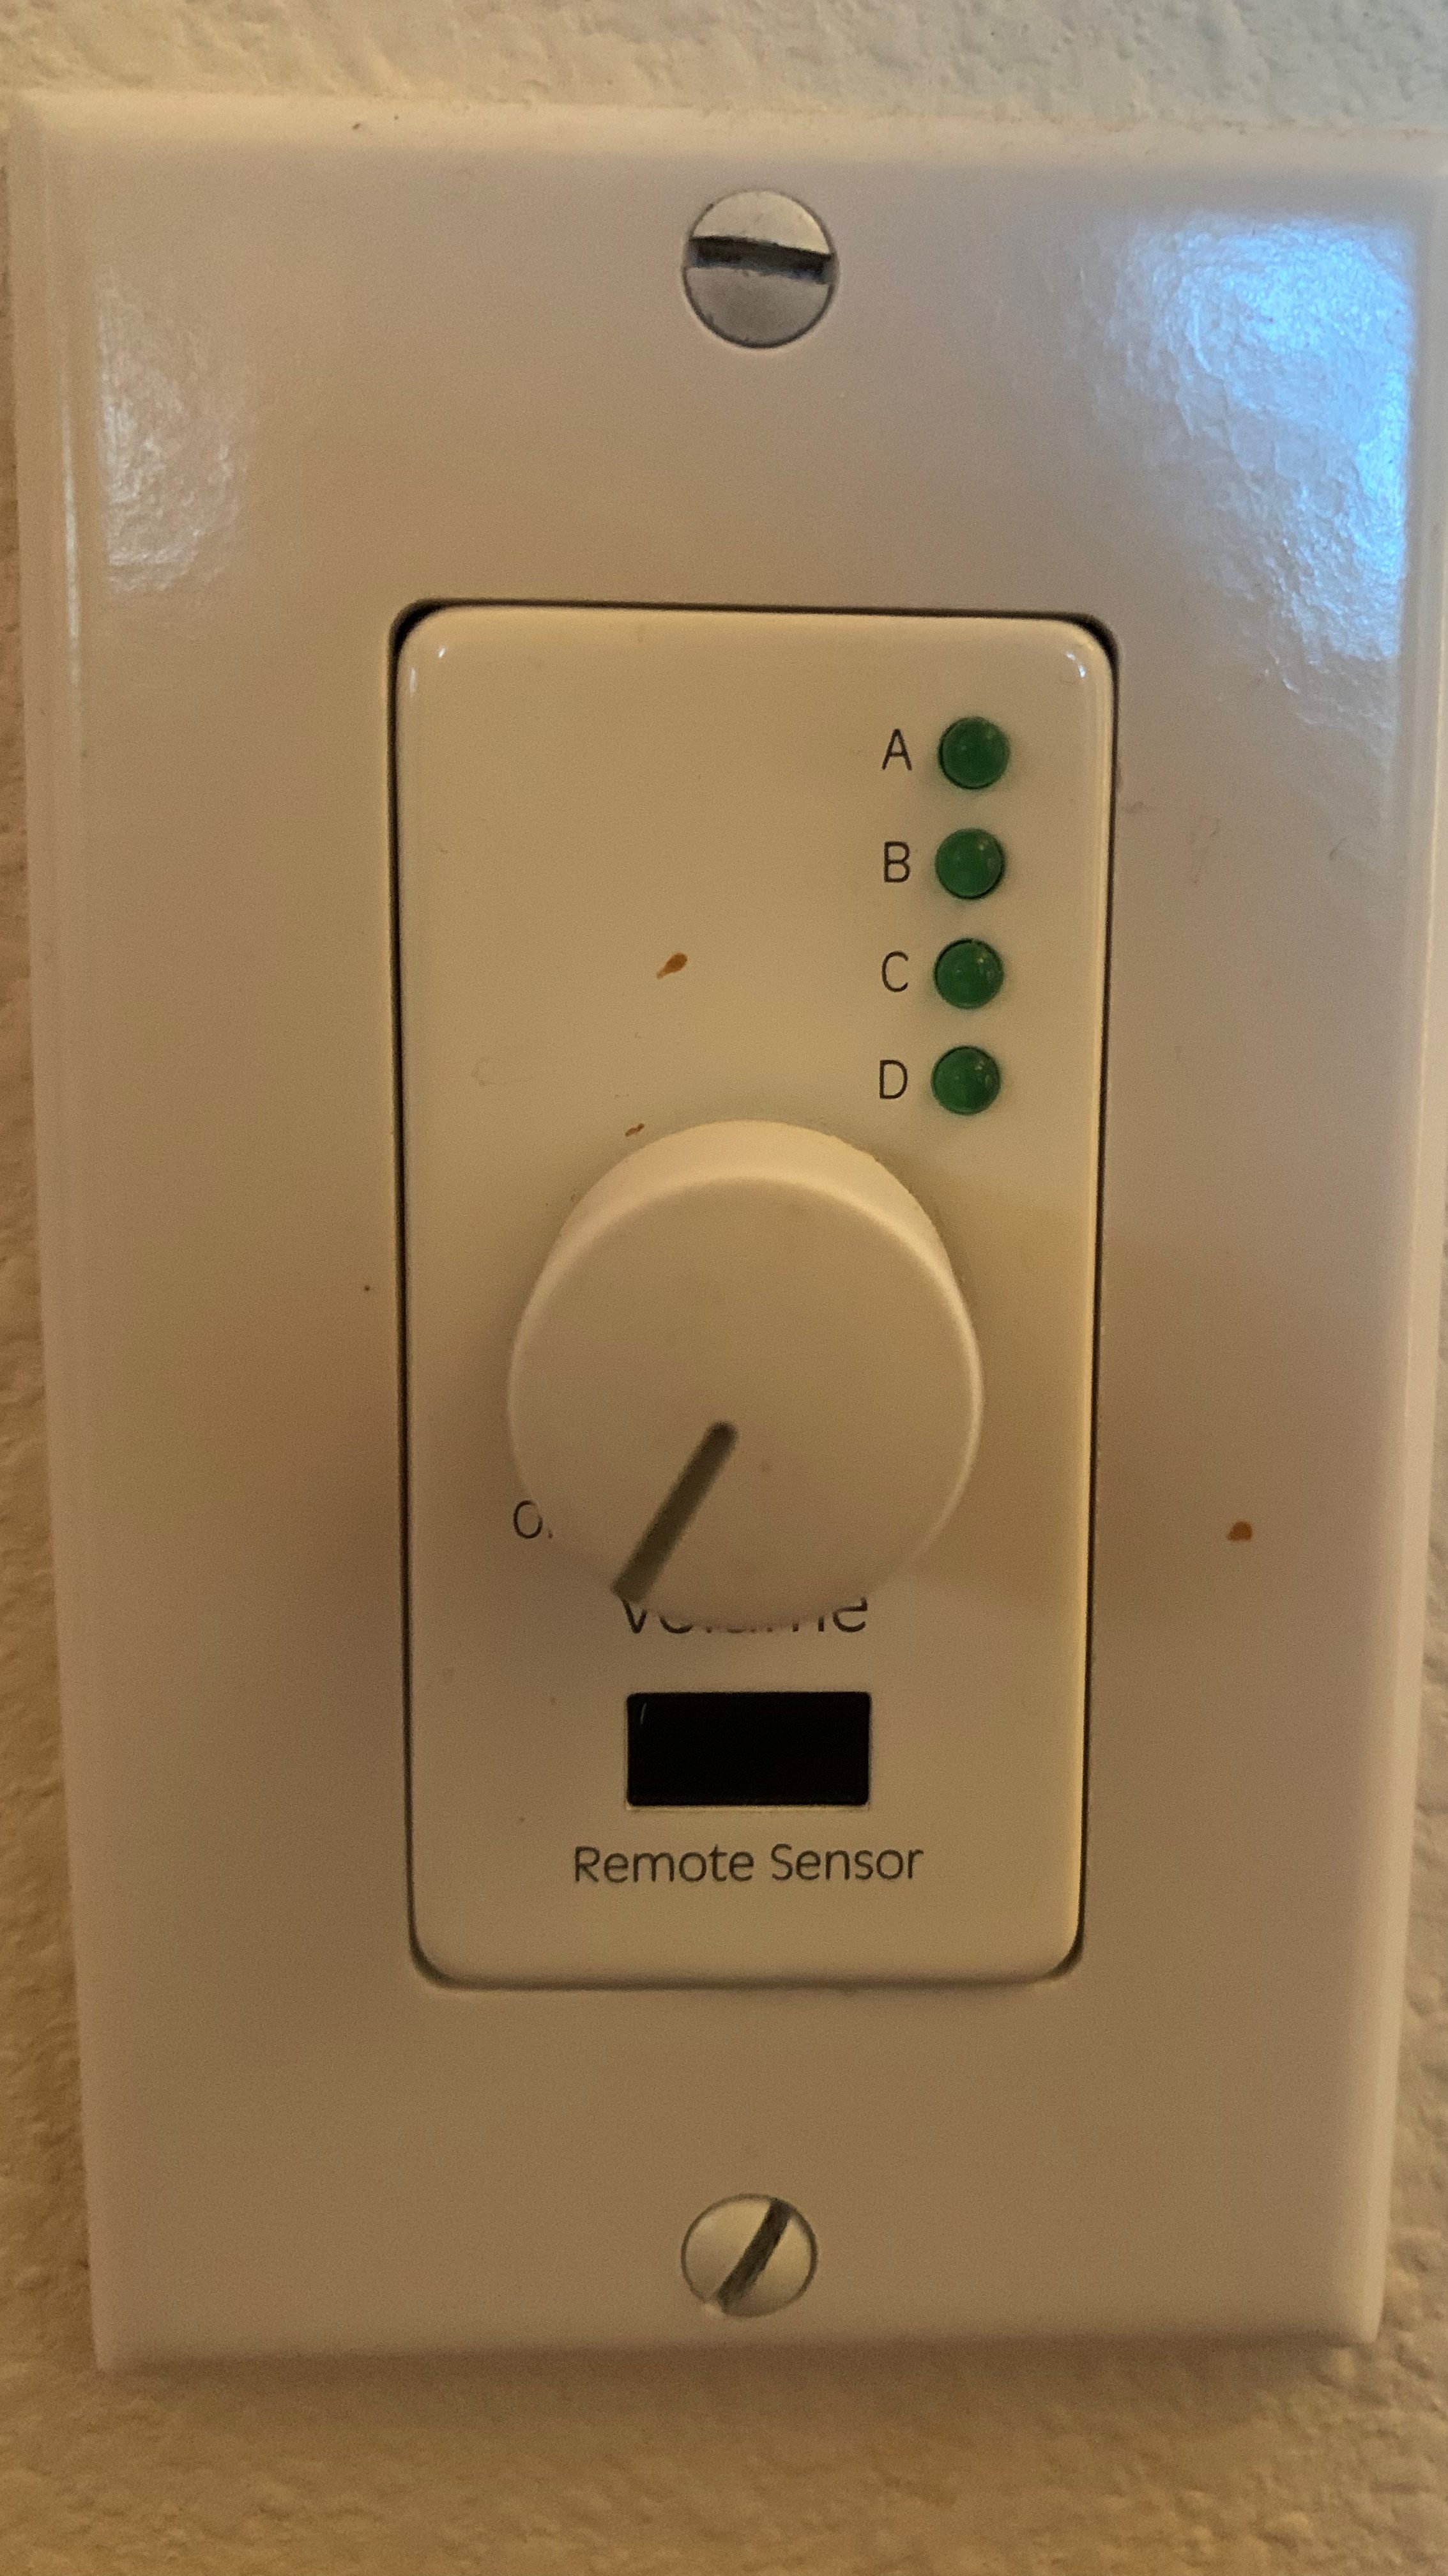
You can use the individual Alexa devices to play audio in those individual locations. You can also take advantage of the whole home audio system. The volume control for the speakers around the Lodge look like this:
Turn the volume dial clockwise and the green light next to A should come on. If a different letter lights up, press the volume dial in until A is illuminated. The leftmost control in the living room controls speakers in the backyard.
If the light doesn’t come on, the power supply down in the theater room may have timed out. The “Power on” light on the “Kustom” amplifier in the theater room needs to be on. In this picture, you can see it’s turned off:
First make sure the power button is depressed. If that doesn’t work, press the button next to “Trigger” on the topmost iPower component. You may have to press it twice. If all that doesn’t work, once in a while I’ve needed to unplug and replug the iPower component at the wall.
If you’ve worked through all that and the A light is on, what can you do with it? We’ve connected another Alexa device down in the theater room, and you don’t have to walk down there to use it!
From any Alexa you can say “Alexa play ______ on Lodge Speakers.” That’ll send music to the system those volume controls are connected to. Just add “on Lodge Speakers” to the end of your command. That includes skipping tracks, like “Alexa next on Lodge Speakers” or “Alexa stop on Lodge Speakers.”
You can turn the volume controls counter-clockwise until the green light turns off to turn the speakers back off when you’re done.
Let’s put this right at the top since it’s super important:
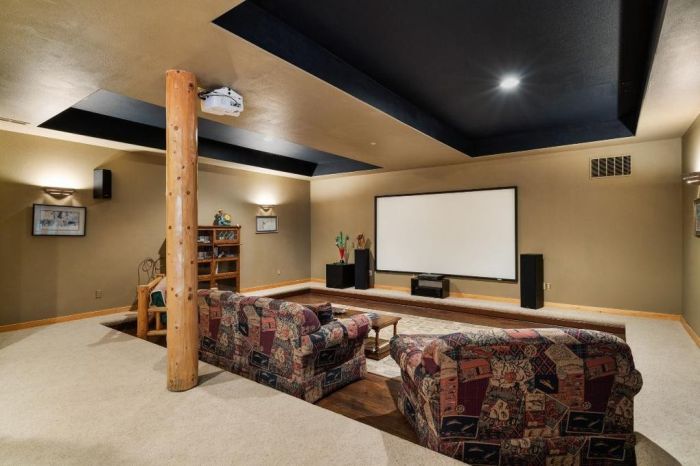
Don’t look into the projector when it’s turned on!!
The projector is under the screen at the front of the room. It uses lasers to create the image, so don’t look into the projector when it’s on.
The projector on the ceiling isn’t connected to anything.
Getting started
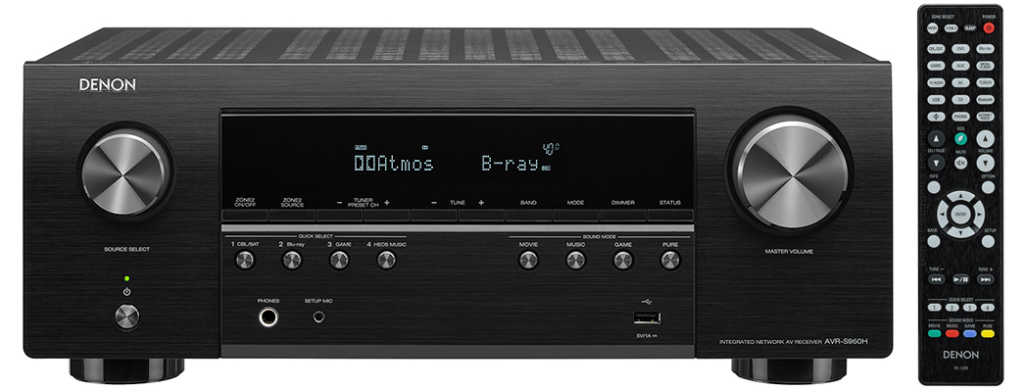
The Denon receiver in the back of the theater room receives all of the various inputs and sends them on to the projector.
You can turn it on with the power button (bottom-left) or by using the Denon remote (power is top-right on the remote). The remote needs to pointed at the receiver.
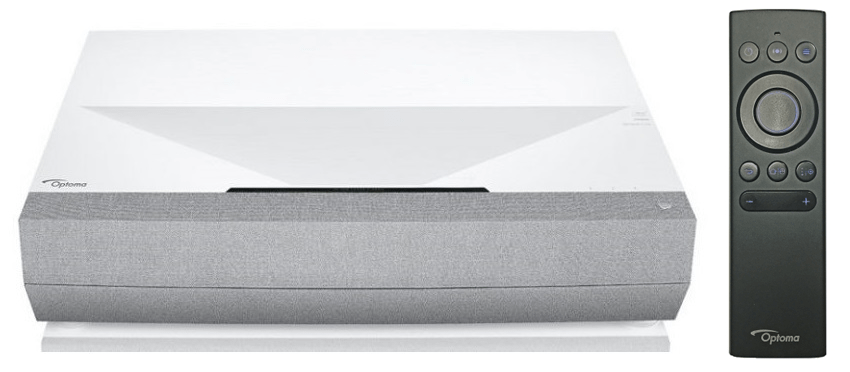
Next, turn on the projector. You can use the Optoma remote (power button is top-left) or press the button on the projector (power button is top-right).
Inputs
The projector should always be left on HDMI 1. You can change between the different devices using the Denon receiver.
If the projector is showing a generic home screen or otherwise doesn’t seem to be on the right input press the Home button on the Optoma remote (middle button of the lower 3), use the left/right sides of the big circle button to navigate to HDMI 1, and then press the center of the big circle button to select it.
Streaming
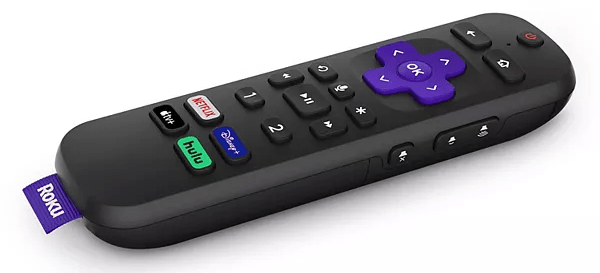
There’s a Roku plugged into the back that’s set up for all kinds of streaming services like Netflix, Disney+, and more. Set the source on the Denon to CBL/SAT by pressing the button on the remote, the button on the front of the receiver, or turning the source select dial on the left side of the receiver. It will say “Roku” on the receiver when it’s selected.
The Roku remote doesn’t have to be pointed at the back corner of the room like the Denon does.
DVD/VHS
There are powered converters needed to use DVD, VHS, or LaserDisc. We leave them unplugged, since they get warm if they’re left plugged in long-term. All you need to do is open the door next to the components and plug in this one plug to use one of these (and then please unplug it when you’re done):
Otherwise follow the same steps as above, but set the input on the Denon to DVD. This is connected to the GoVideo DVD player/VCR. There’s probably a remote in the bottom of the cabinet on the side of the room but honestly we’ve never used it; we’ve just powered on the player, put in media, and used the control buttons on the front.
LaserDisc
Same as above; if you’re looking for the finest in mid-90s video (and you want to flip over some giant discs every 20-30 mins), the Pioneer LaserDisc player is connected to the Denon on the Blu-Ray input. Again there’s probably a remote in the cabinet, but we’ve never used it, either.
Any time of year Lake Wenatchee is a short 10 minute walk away. Follow the road you came in on back to Cedar Brae, cross the street, and follow the trail around to the beach; you can’t miss it.
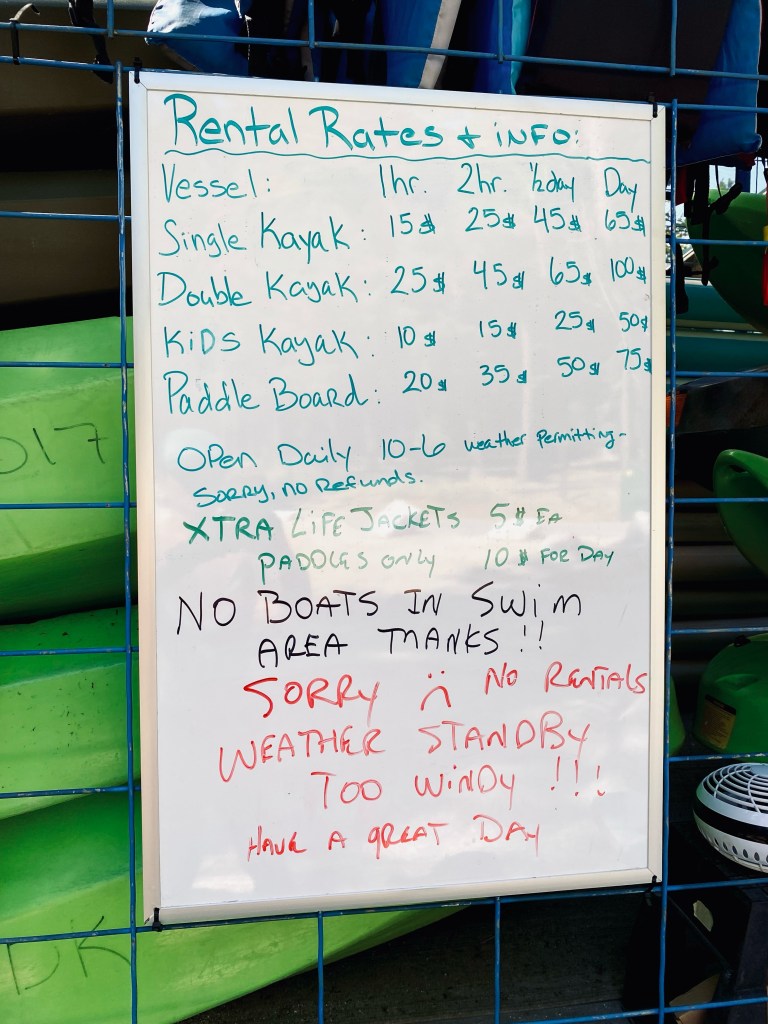
There’s a small general store adjacent to the beach at Lake Wenatchee State Park. You’ll find little odds and ends (stuff that campers at the State Park might have forgotten) as well as ice cream and a small hot menu.
If the weather’s cooperating there will be an equipment rental trailer right near the store, too. This example was taken in July of 2021 (and on a windy day, so they weren’t actually renting equipment).
You should have received a code for opening the front door. If you didn’t text Andrea or Matt and we’ll get it to you again.
To open the door, just enter the code into the keypad.
When you leave just press the “lock” button (bottom-left). You may need to pull the door handle towards you while it tries to lock; sometimes it sticks.
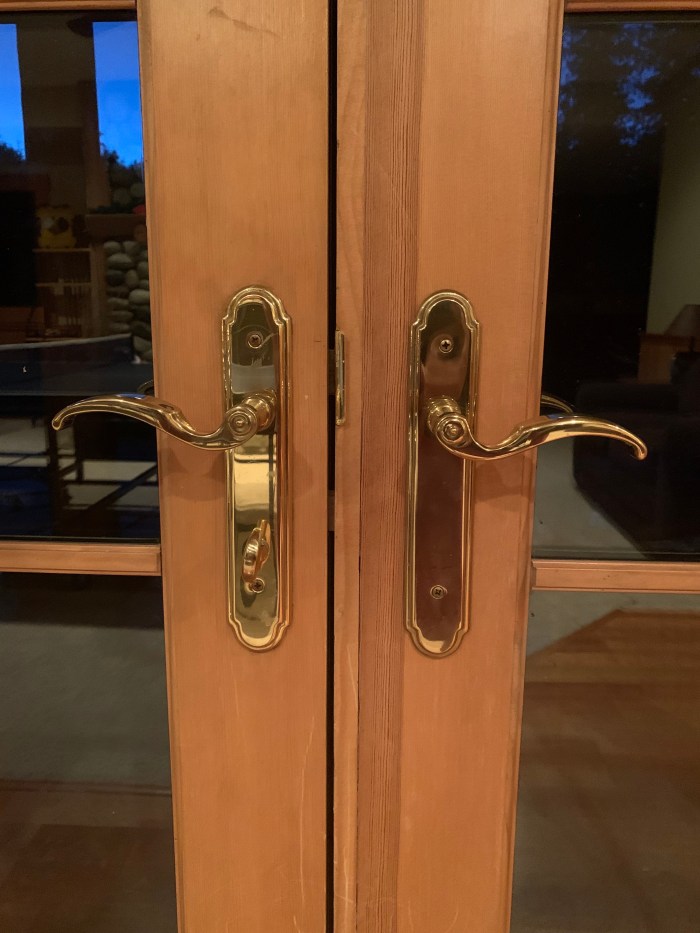
french doors
Most doors in the house are self-explanatory, but the locks on the french doors can be temperamental. We’re talking about these:
Please don’t try to open the doors in the master bedroom; they’re especially difficult to re-lock.
Opening
First, make sure the lock is disengaged. That means making sure the lock is horizontal, by rotating it counter-clockwise.
On that same door, rotate the handle counter-clockwise (pull down) to open the door. It should swing open.
Closing
Re-locking these doors can be a bit tricky. In theory you’re going to reverse what we did to open them:
Shut the door.
Rotate the handle clockwise (pull up) to engage the bolts.
Engage the lock by turning it clockwise until it’s vertical.
Sometimes you’re going to find that lock doesn’t want to turn to vertical. Now what?
First, check THE OTHER door
Open the door again and look along the edge of the other door. If the security bolts aren’t all the way engaged on that door, you’ll see a bit of metal blocking the holes where the other door reaches into. Like so:
That bit of metal at the top of the opening can stop the other door from fully catching and won’t let you lock the door.
If that’s the case, you need to rotate this other door’s handle counter-clockwise (pull up) AND make sure the security bolts that go into the floor and ceiling are lined up. This can be a bit tricky with some of the doors; you may need a helper. When they’re lined up and you’ve rotated the handle the gaps will be entirely (or almost entirely) clear. Rotate the handle clockwise (down) to disengage if you want to open this door.
The door on the right in the great room never quite locks right. Just do your best and don’t worry about it; we have a security system, too. 🙂
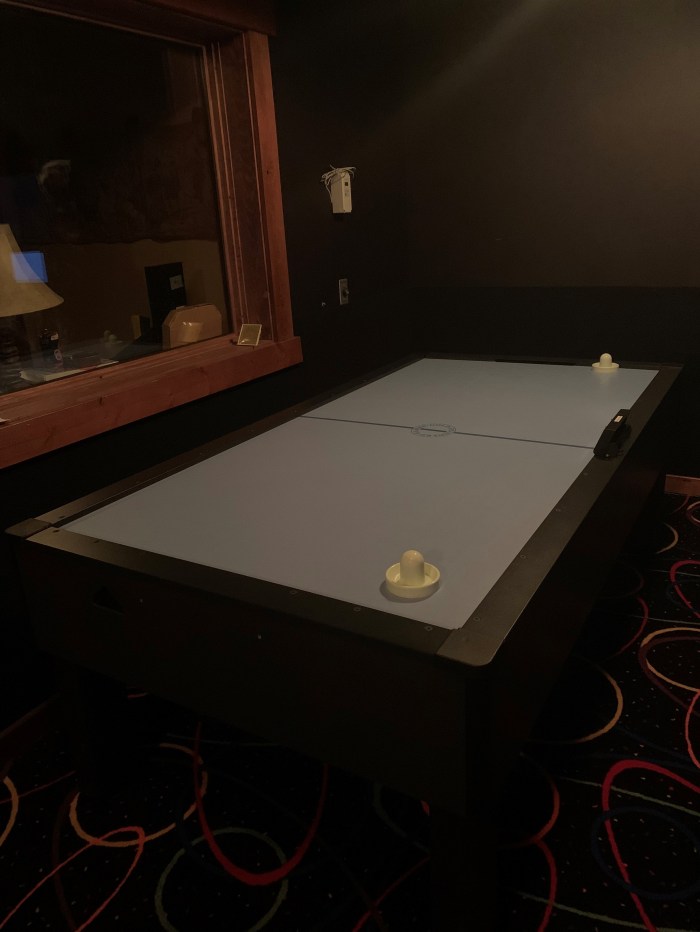
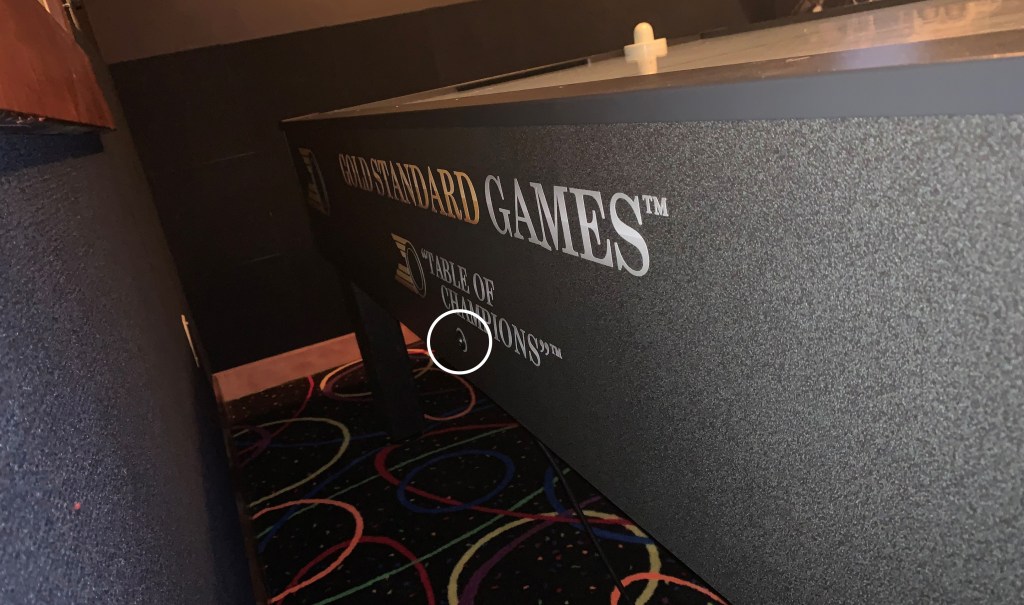
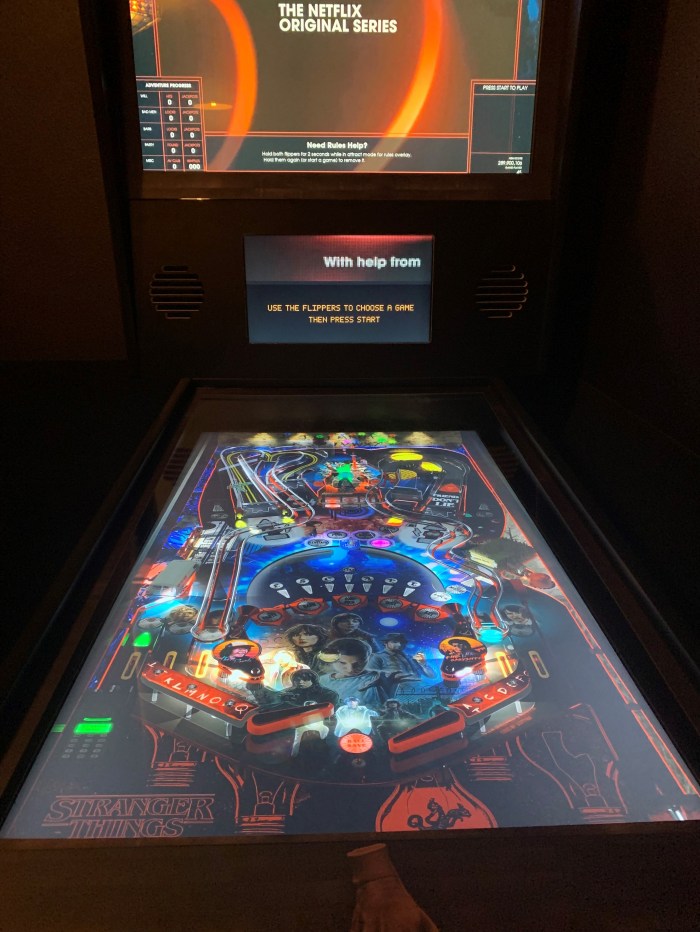
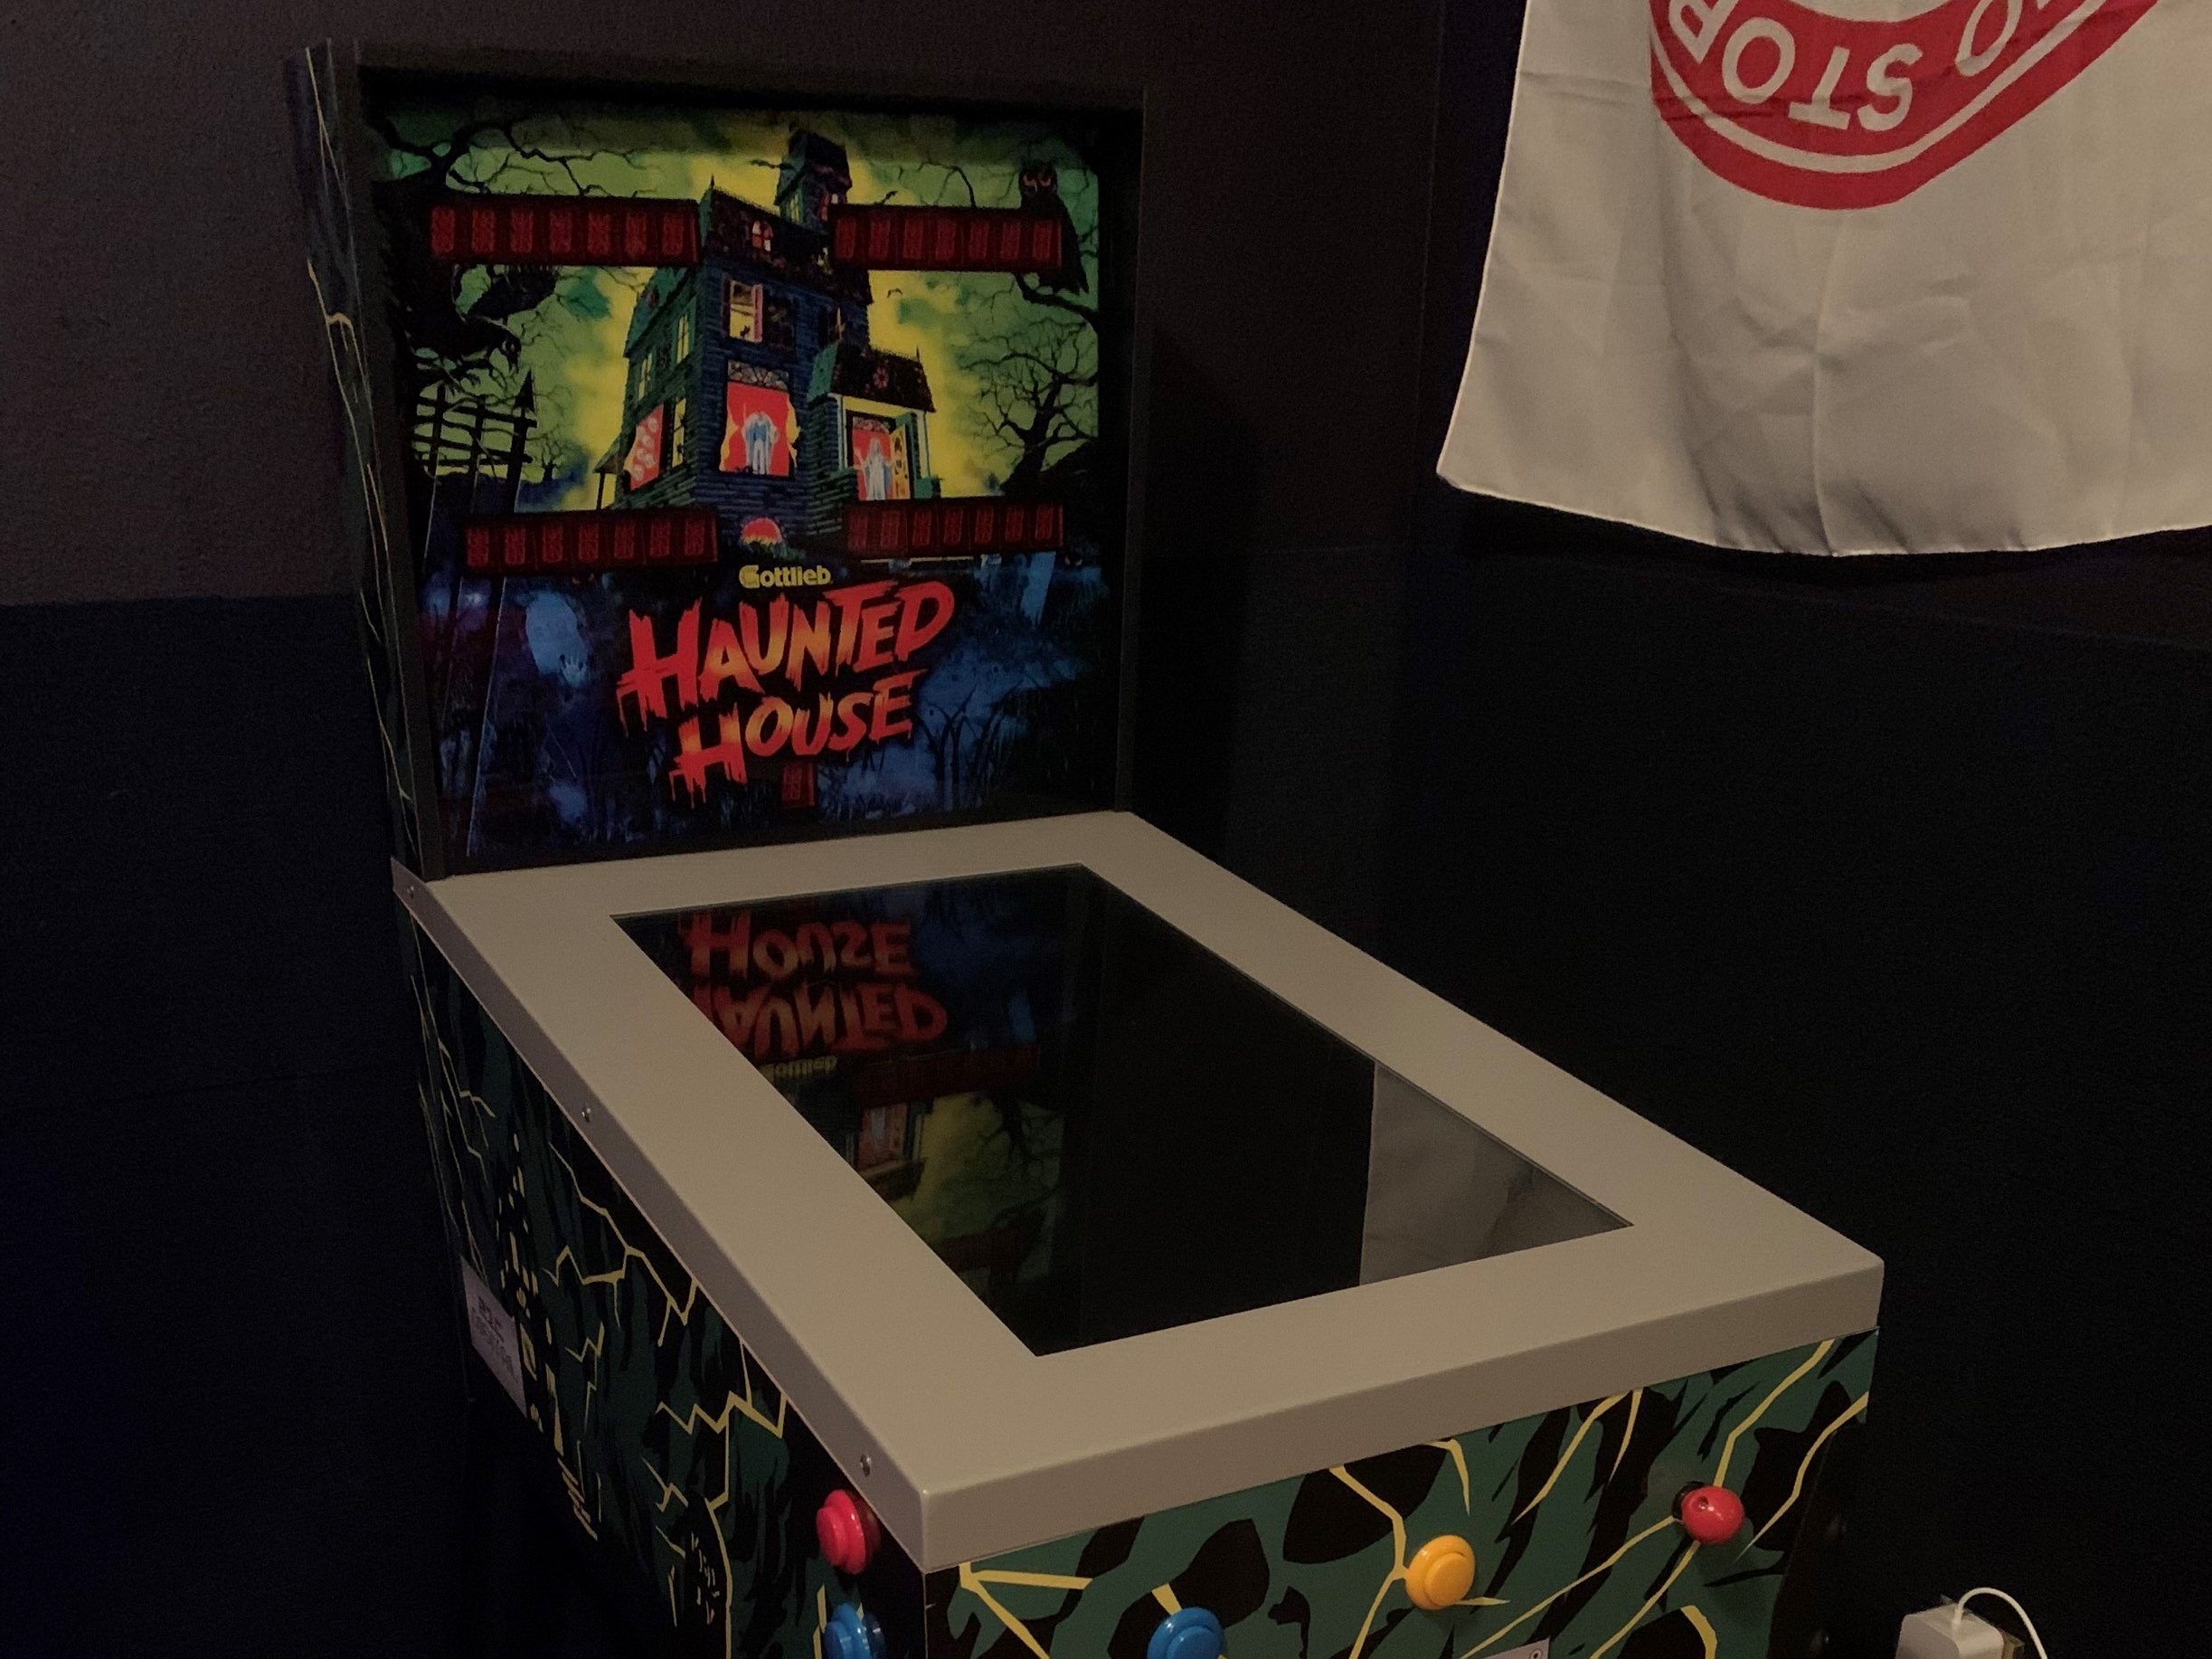
This table’s pretty simple to use. The power switch is on the back-right side of the cabinet, near the backglass. The onscreen instructions will guide you through choosing a table.
Virtual pinball cabinet
This one’s more complicated (but more fun, too). Here are some steps to get the machine up and running.
Make sure the power is on to the games (game switch near the door. Top is on, bottom is off).
Make sure the pinball playfield is on. The Samsung remote under the pinball machine controls the playfield.
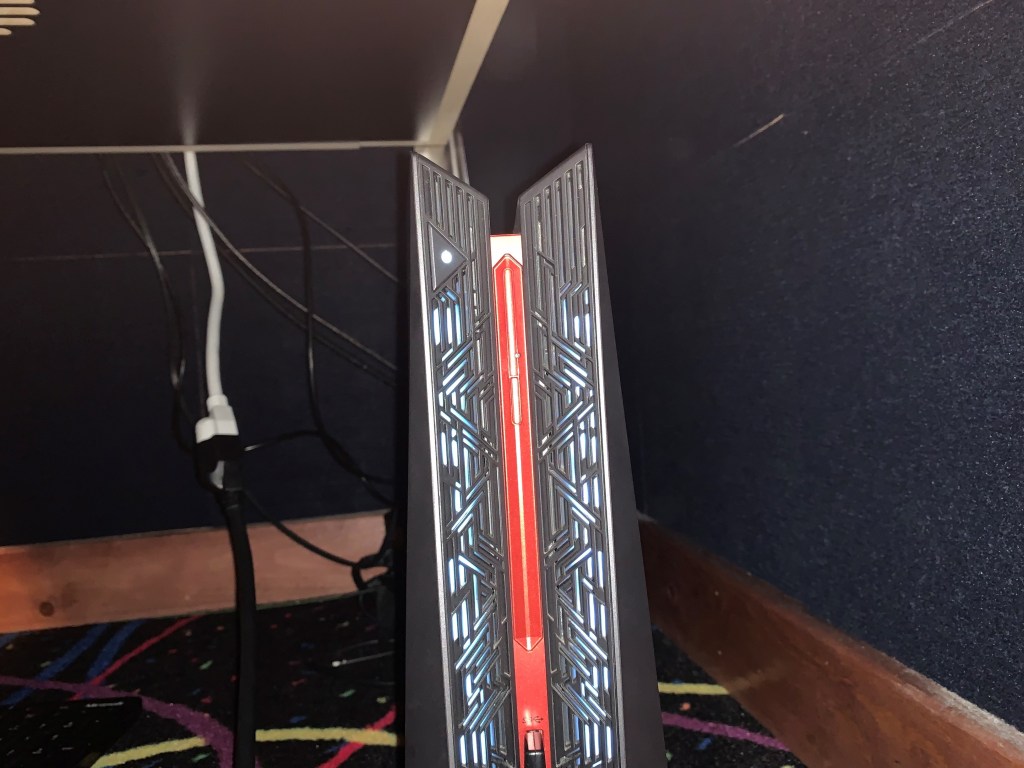
Make sure the computer under the pinball machine is turned on. The power button is on the top-left corner of the front of the computer.
Sometimes the PC is on but not responding. Press and hold the power button until the PC turns off, then turn it back on again.
Pinball should start automatically, but if it doesn’t (and lately there’s been a little exception dialog asking to continue/quit popping up on reboot) you can use the mouse under the pinball table to fix it.
If the exception dialog is up, click quit.
Run the pinball fixer on the desktop. It will reset everything and should get you back to the game selection Pinup Popper.
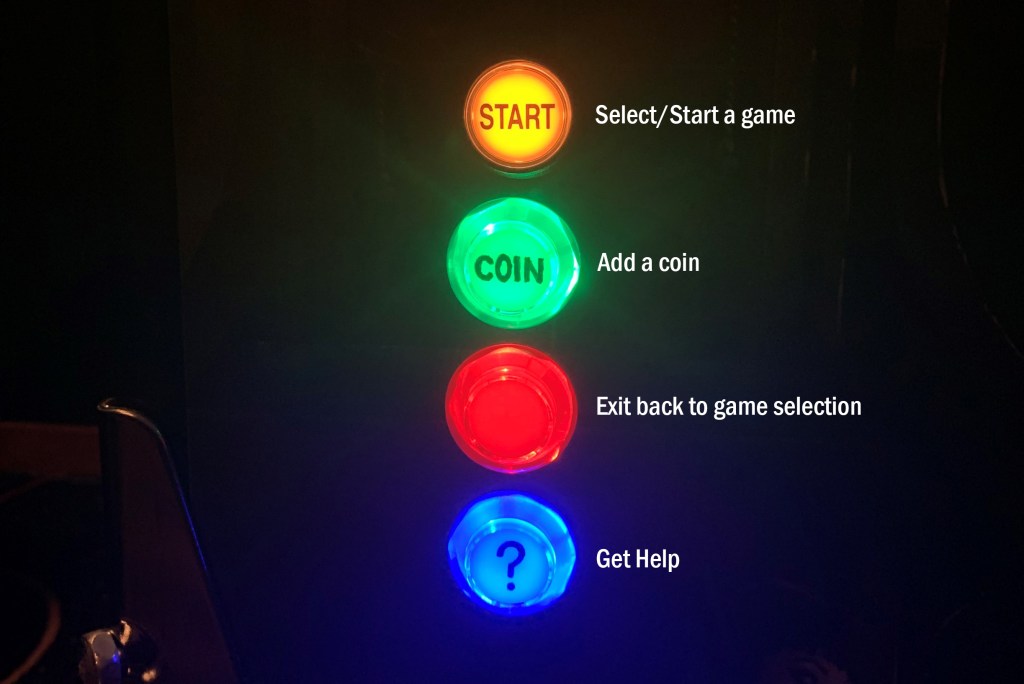
The white buttons on the sides of the cabinet are the flippers. The will scroll through available games.
The yellow start button will launch a game.
Most games need “coins.” The green button will add a coin.
The yellow start button will start the game when it’s ready.
The red button leaves the game to pick another.
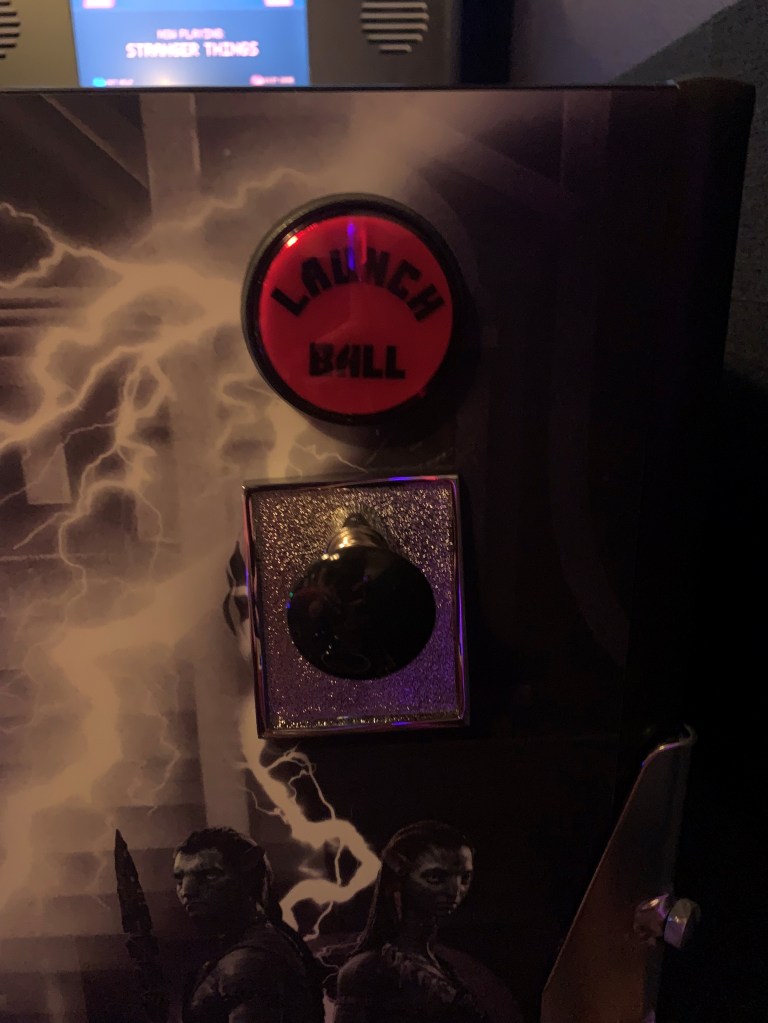
There are two ball launchers. The mechanical plunger doesn’t work for all games (the Zen Pinball FX3 tables, to be specific, which were too laggy with it on), but you can always use the launch ball button. You can hold the launch ball button to pull the plunger back and release it with the strength you want.
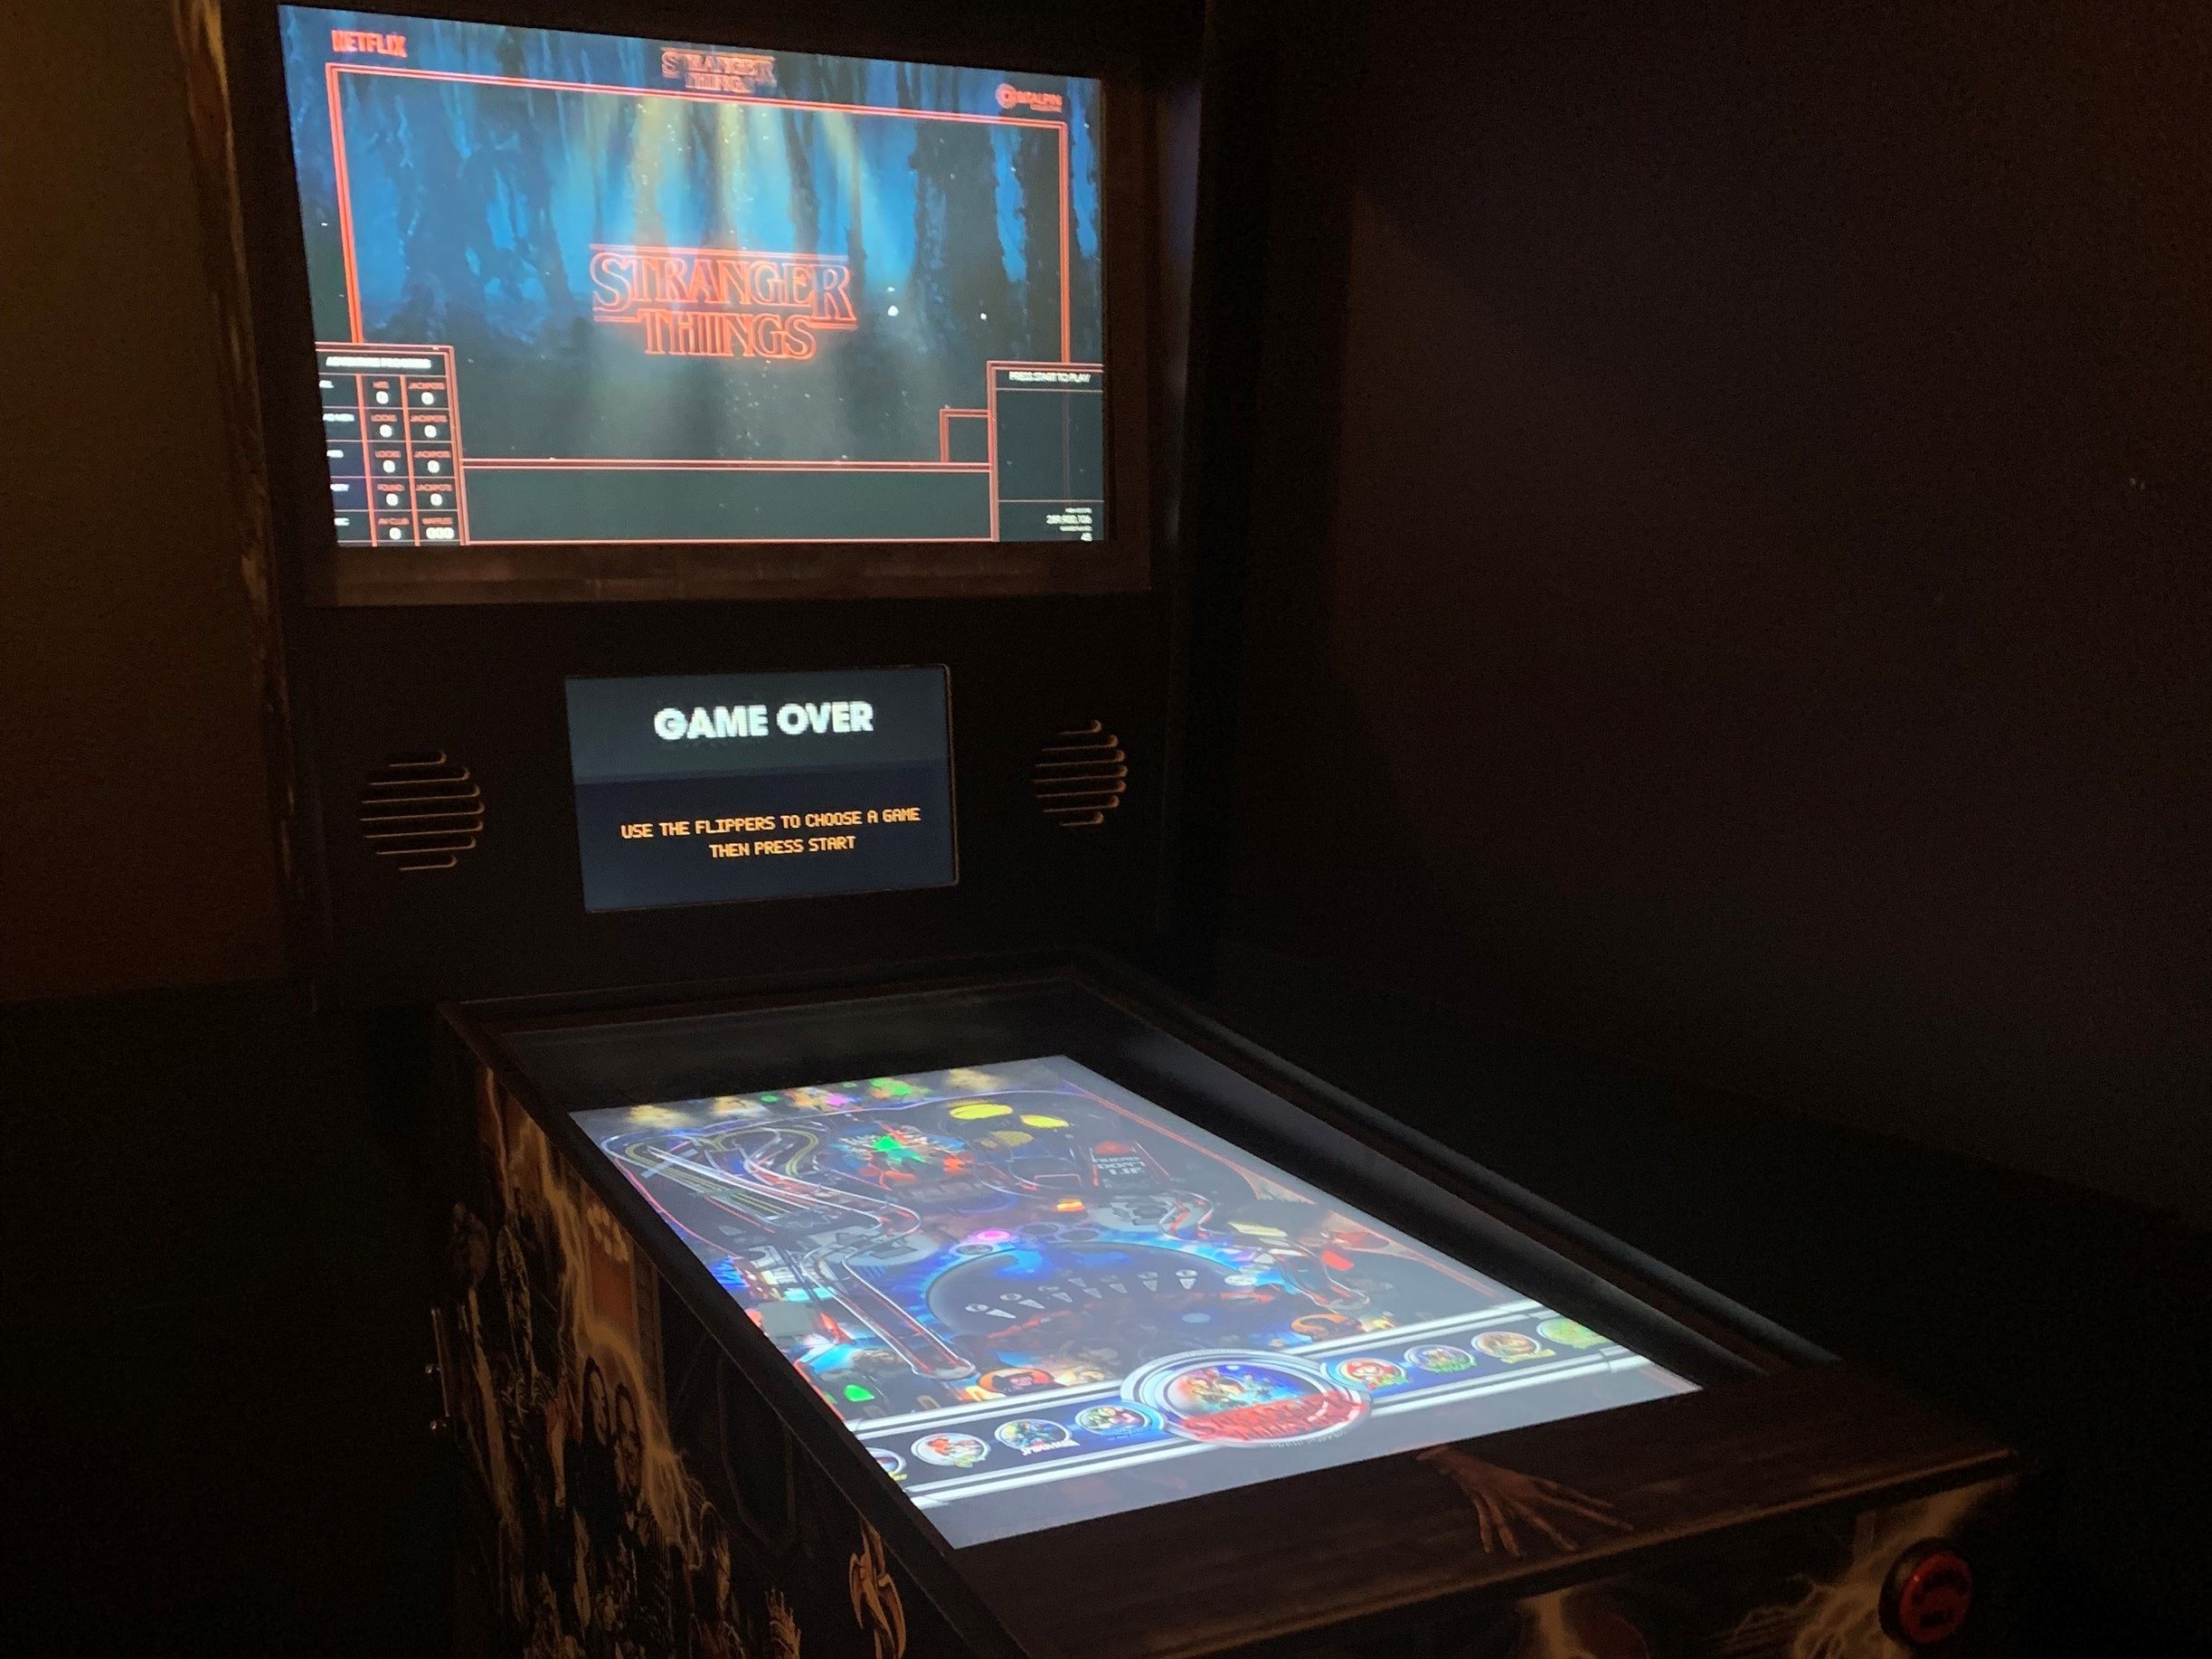
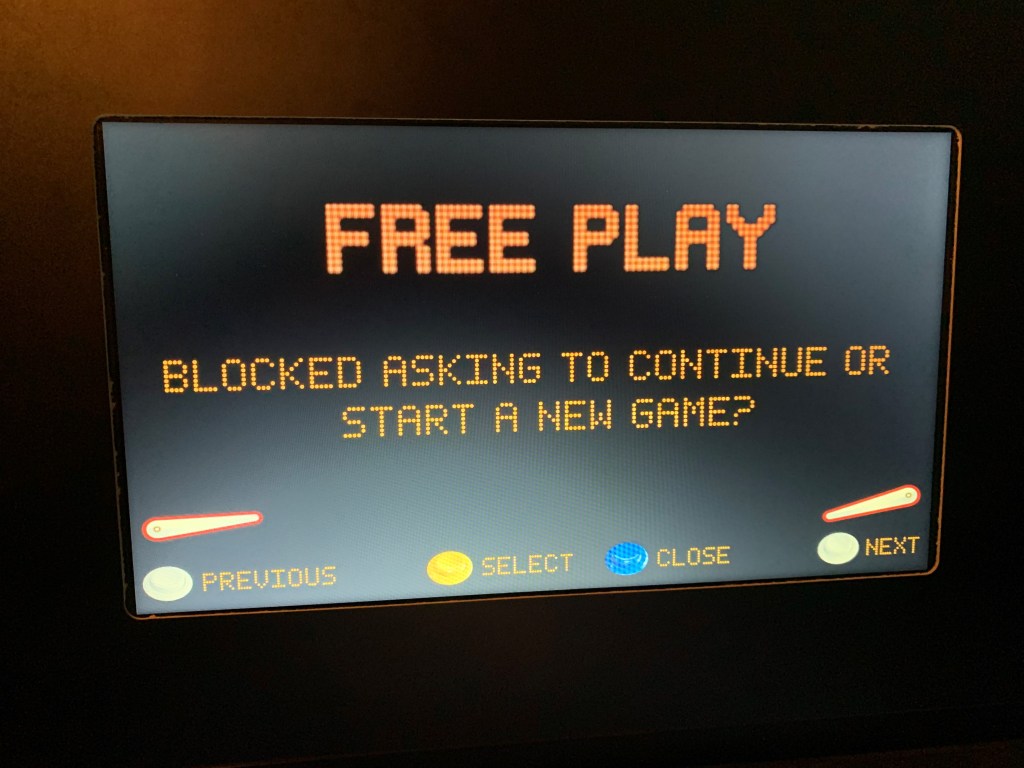
The blue help button can be used to fix all kinds of problems, like if the buttons aren’t responding, you’re being asked to continue or start a new game, etc. The help screen will appear in the lower portion of the backglass.
Use the white flippers to look through common problems, the yellow start button to apply a fix, or the blue help button to close the help screen.
Steam can cause problems (these are the Pinball FX3 tables). If you’re having a problem launching one of these you can try this:
If you’re not already back on the desktop, on the game selection screen press ‘x’ on the keyboard to exit.
Use the mouse to make sure the computer is connected to a Wi-Fi network (neverland or neverland-guest).
Kill or re-run Steam.
Run the Pinball Fixer and try again.
We’re always working on improving the pinball fixer and help screen to eliminate all of these problems, but the software is a bit ragged. Let us know if you find other tips that helped you!