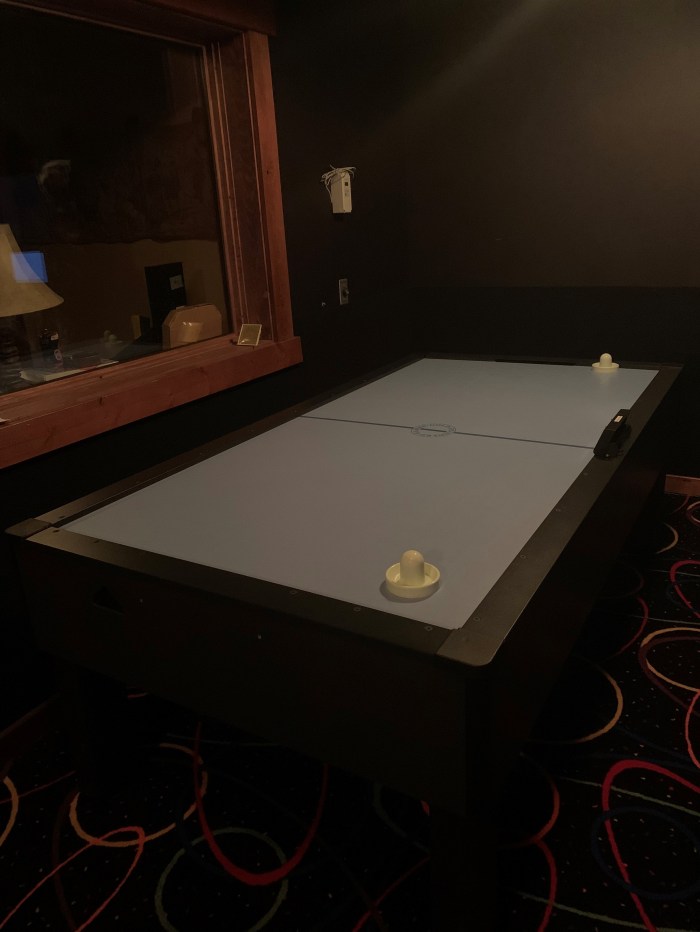
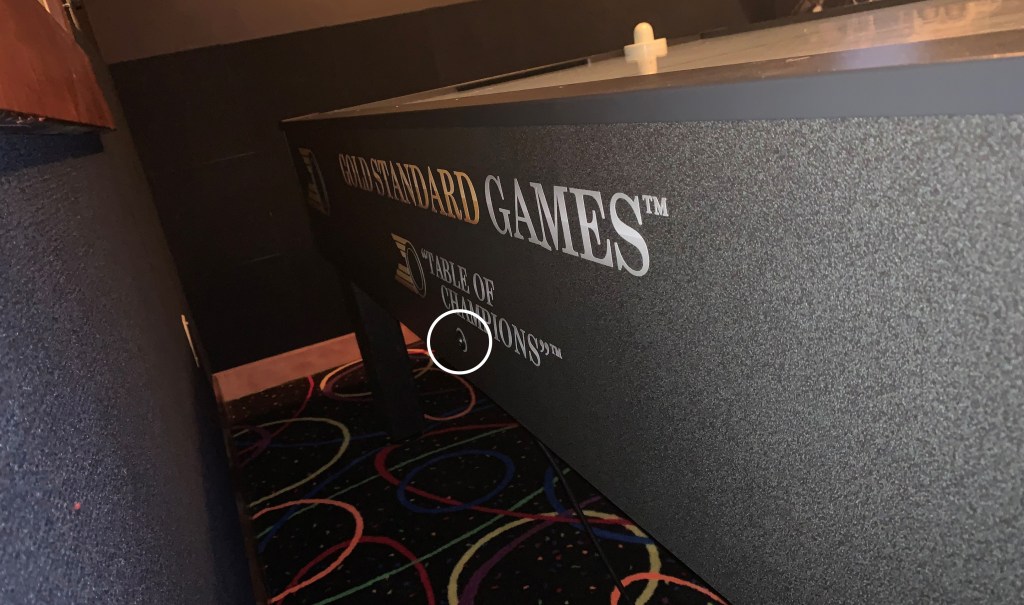
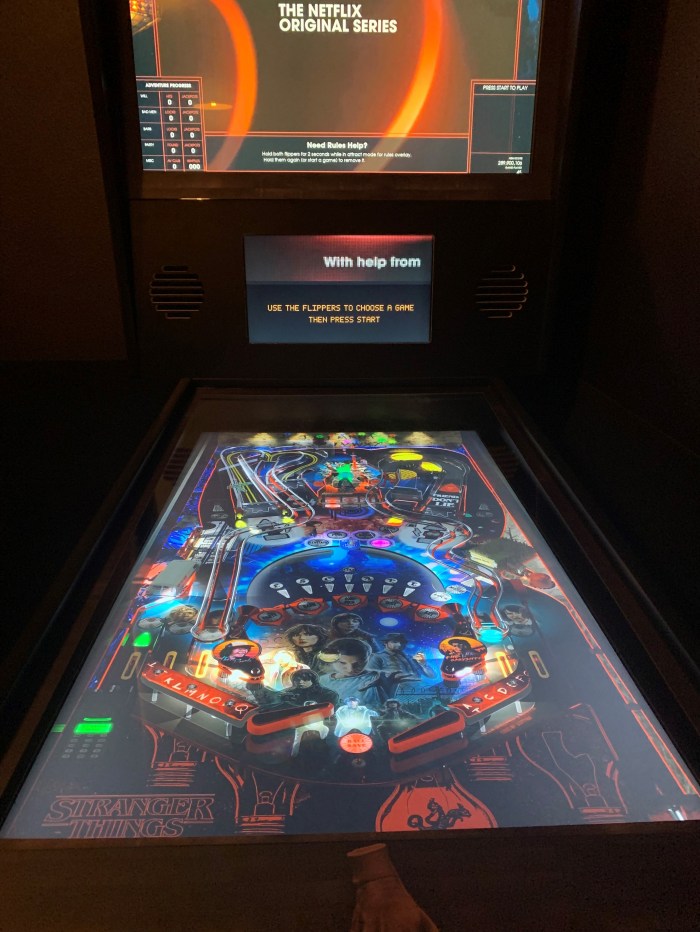
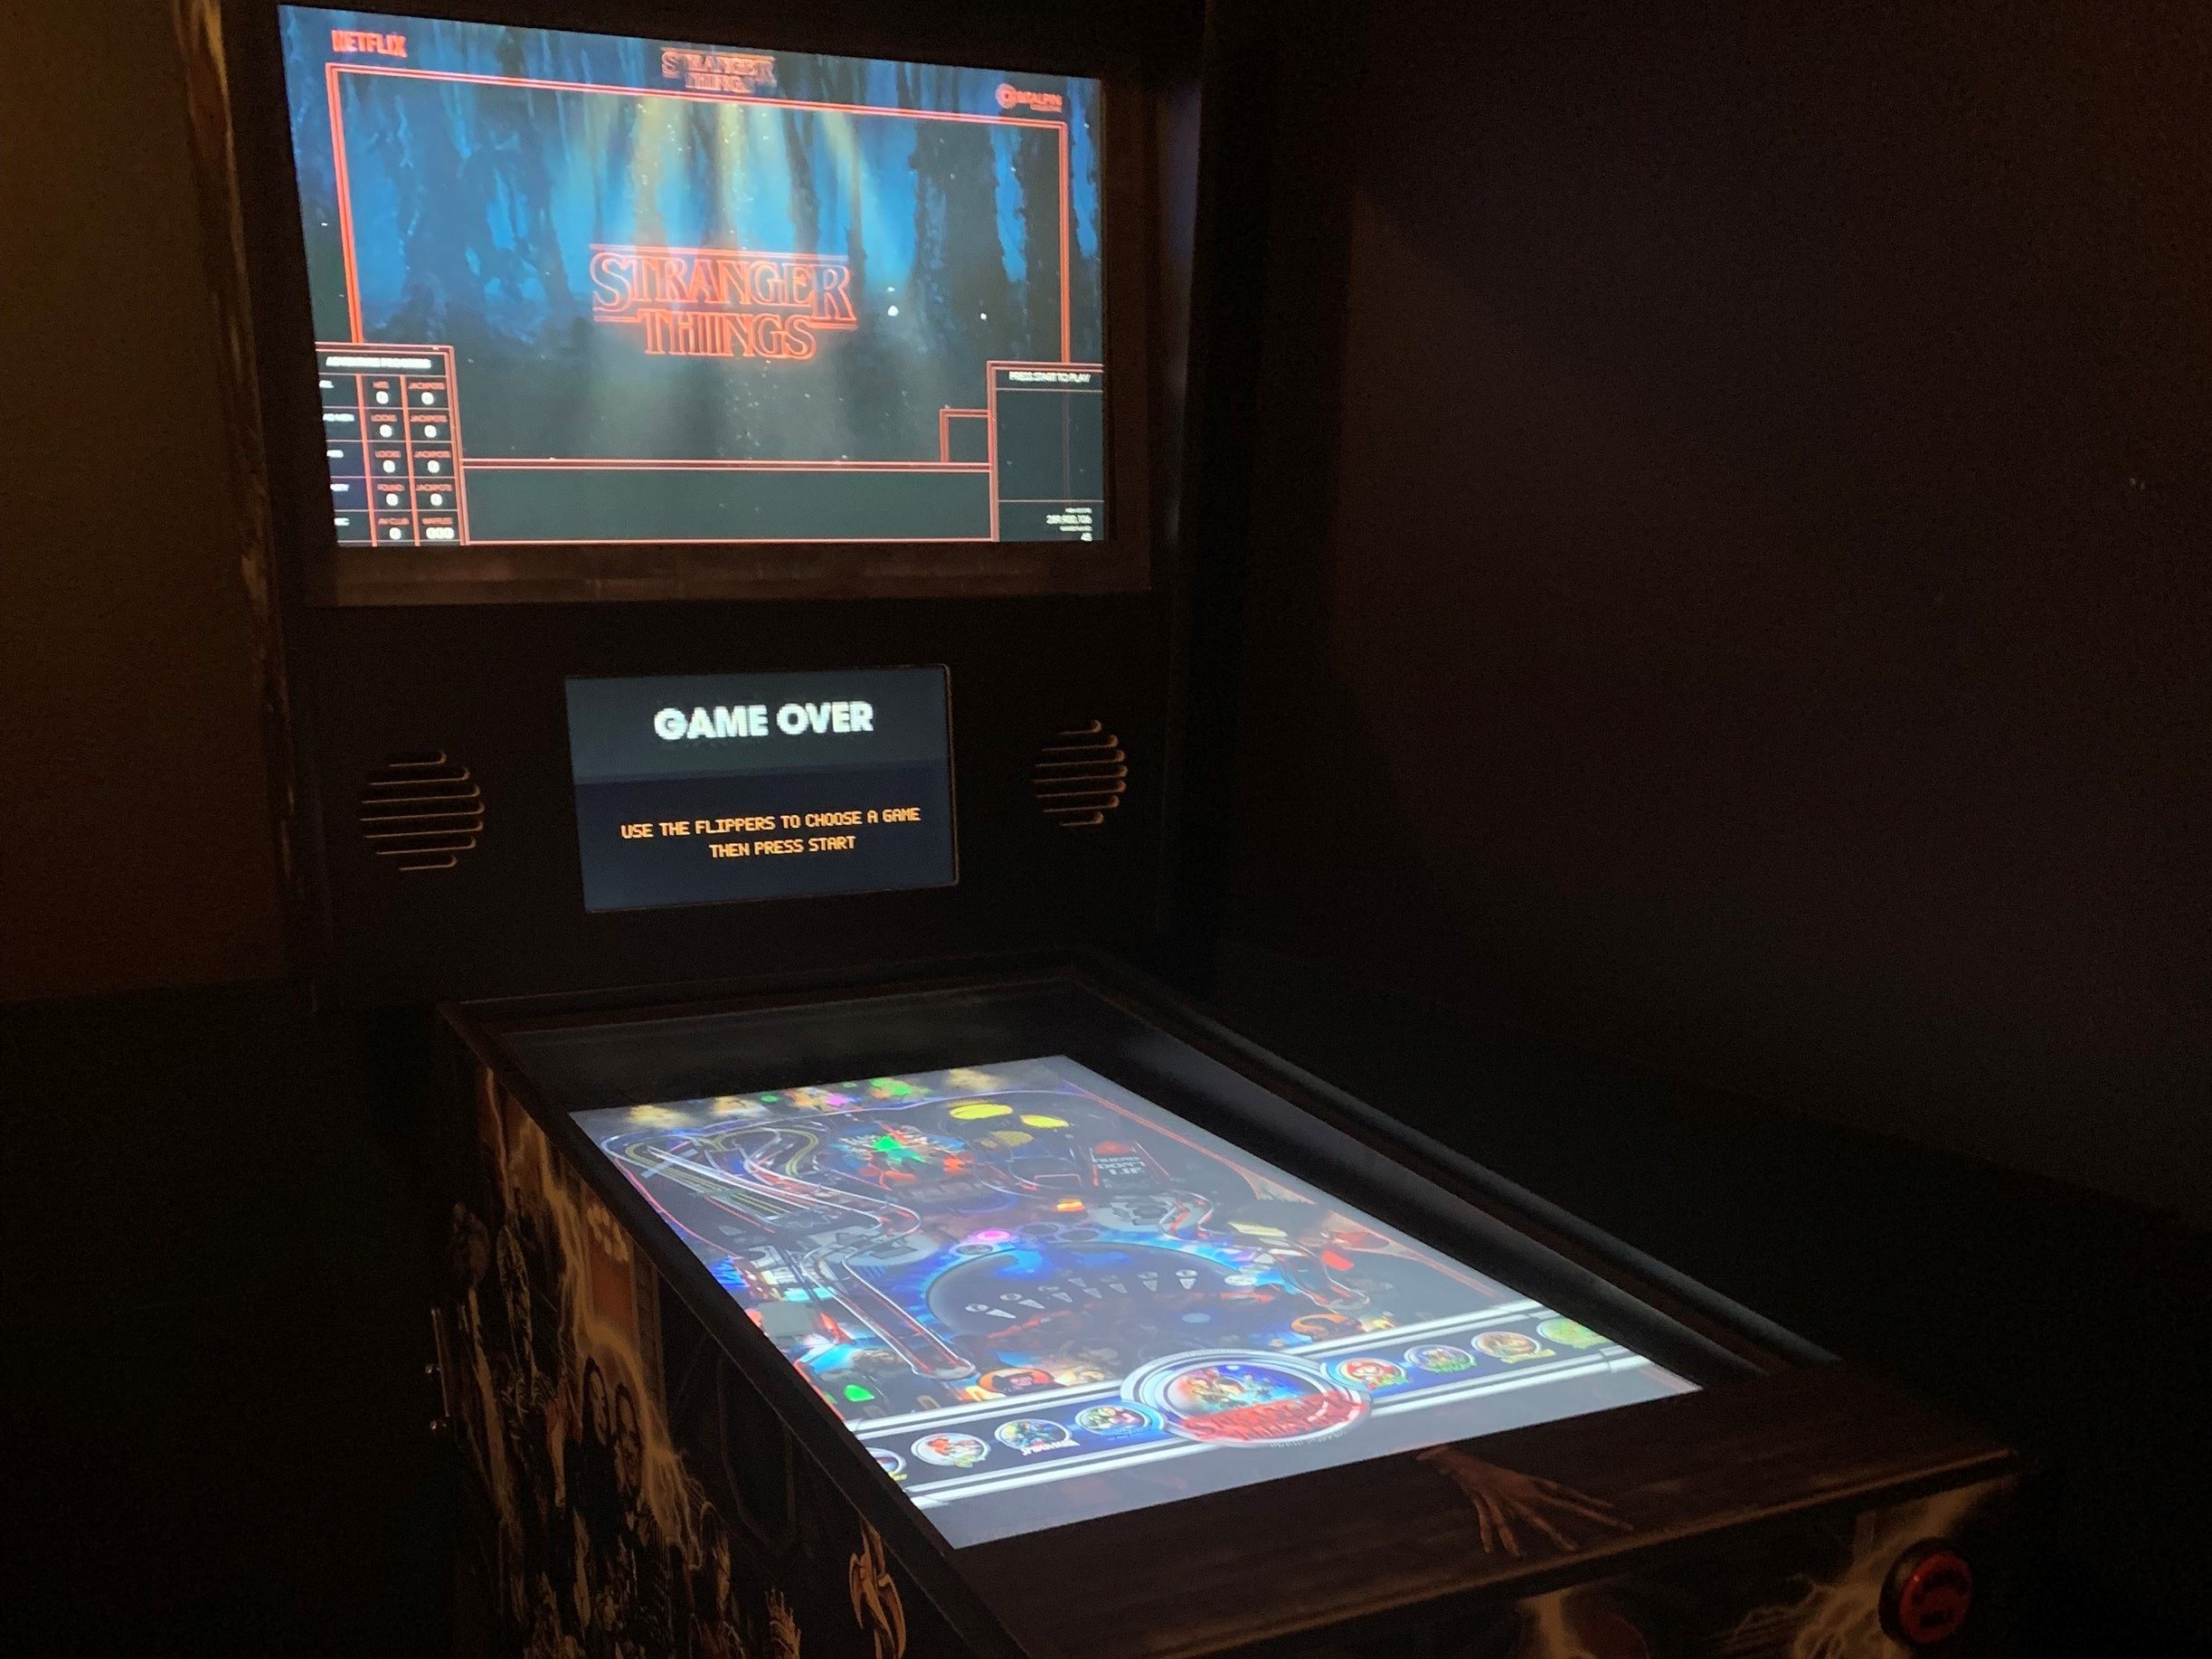
This table’s pretty simple to use. The power switch is on the back-right side of the cabinet, near the backglass. The onscreen instructions will guide you through choosing a table.
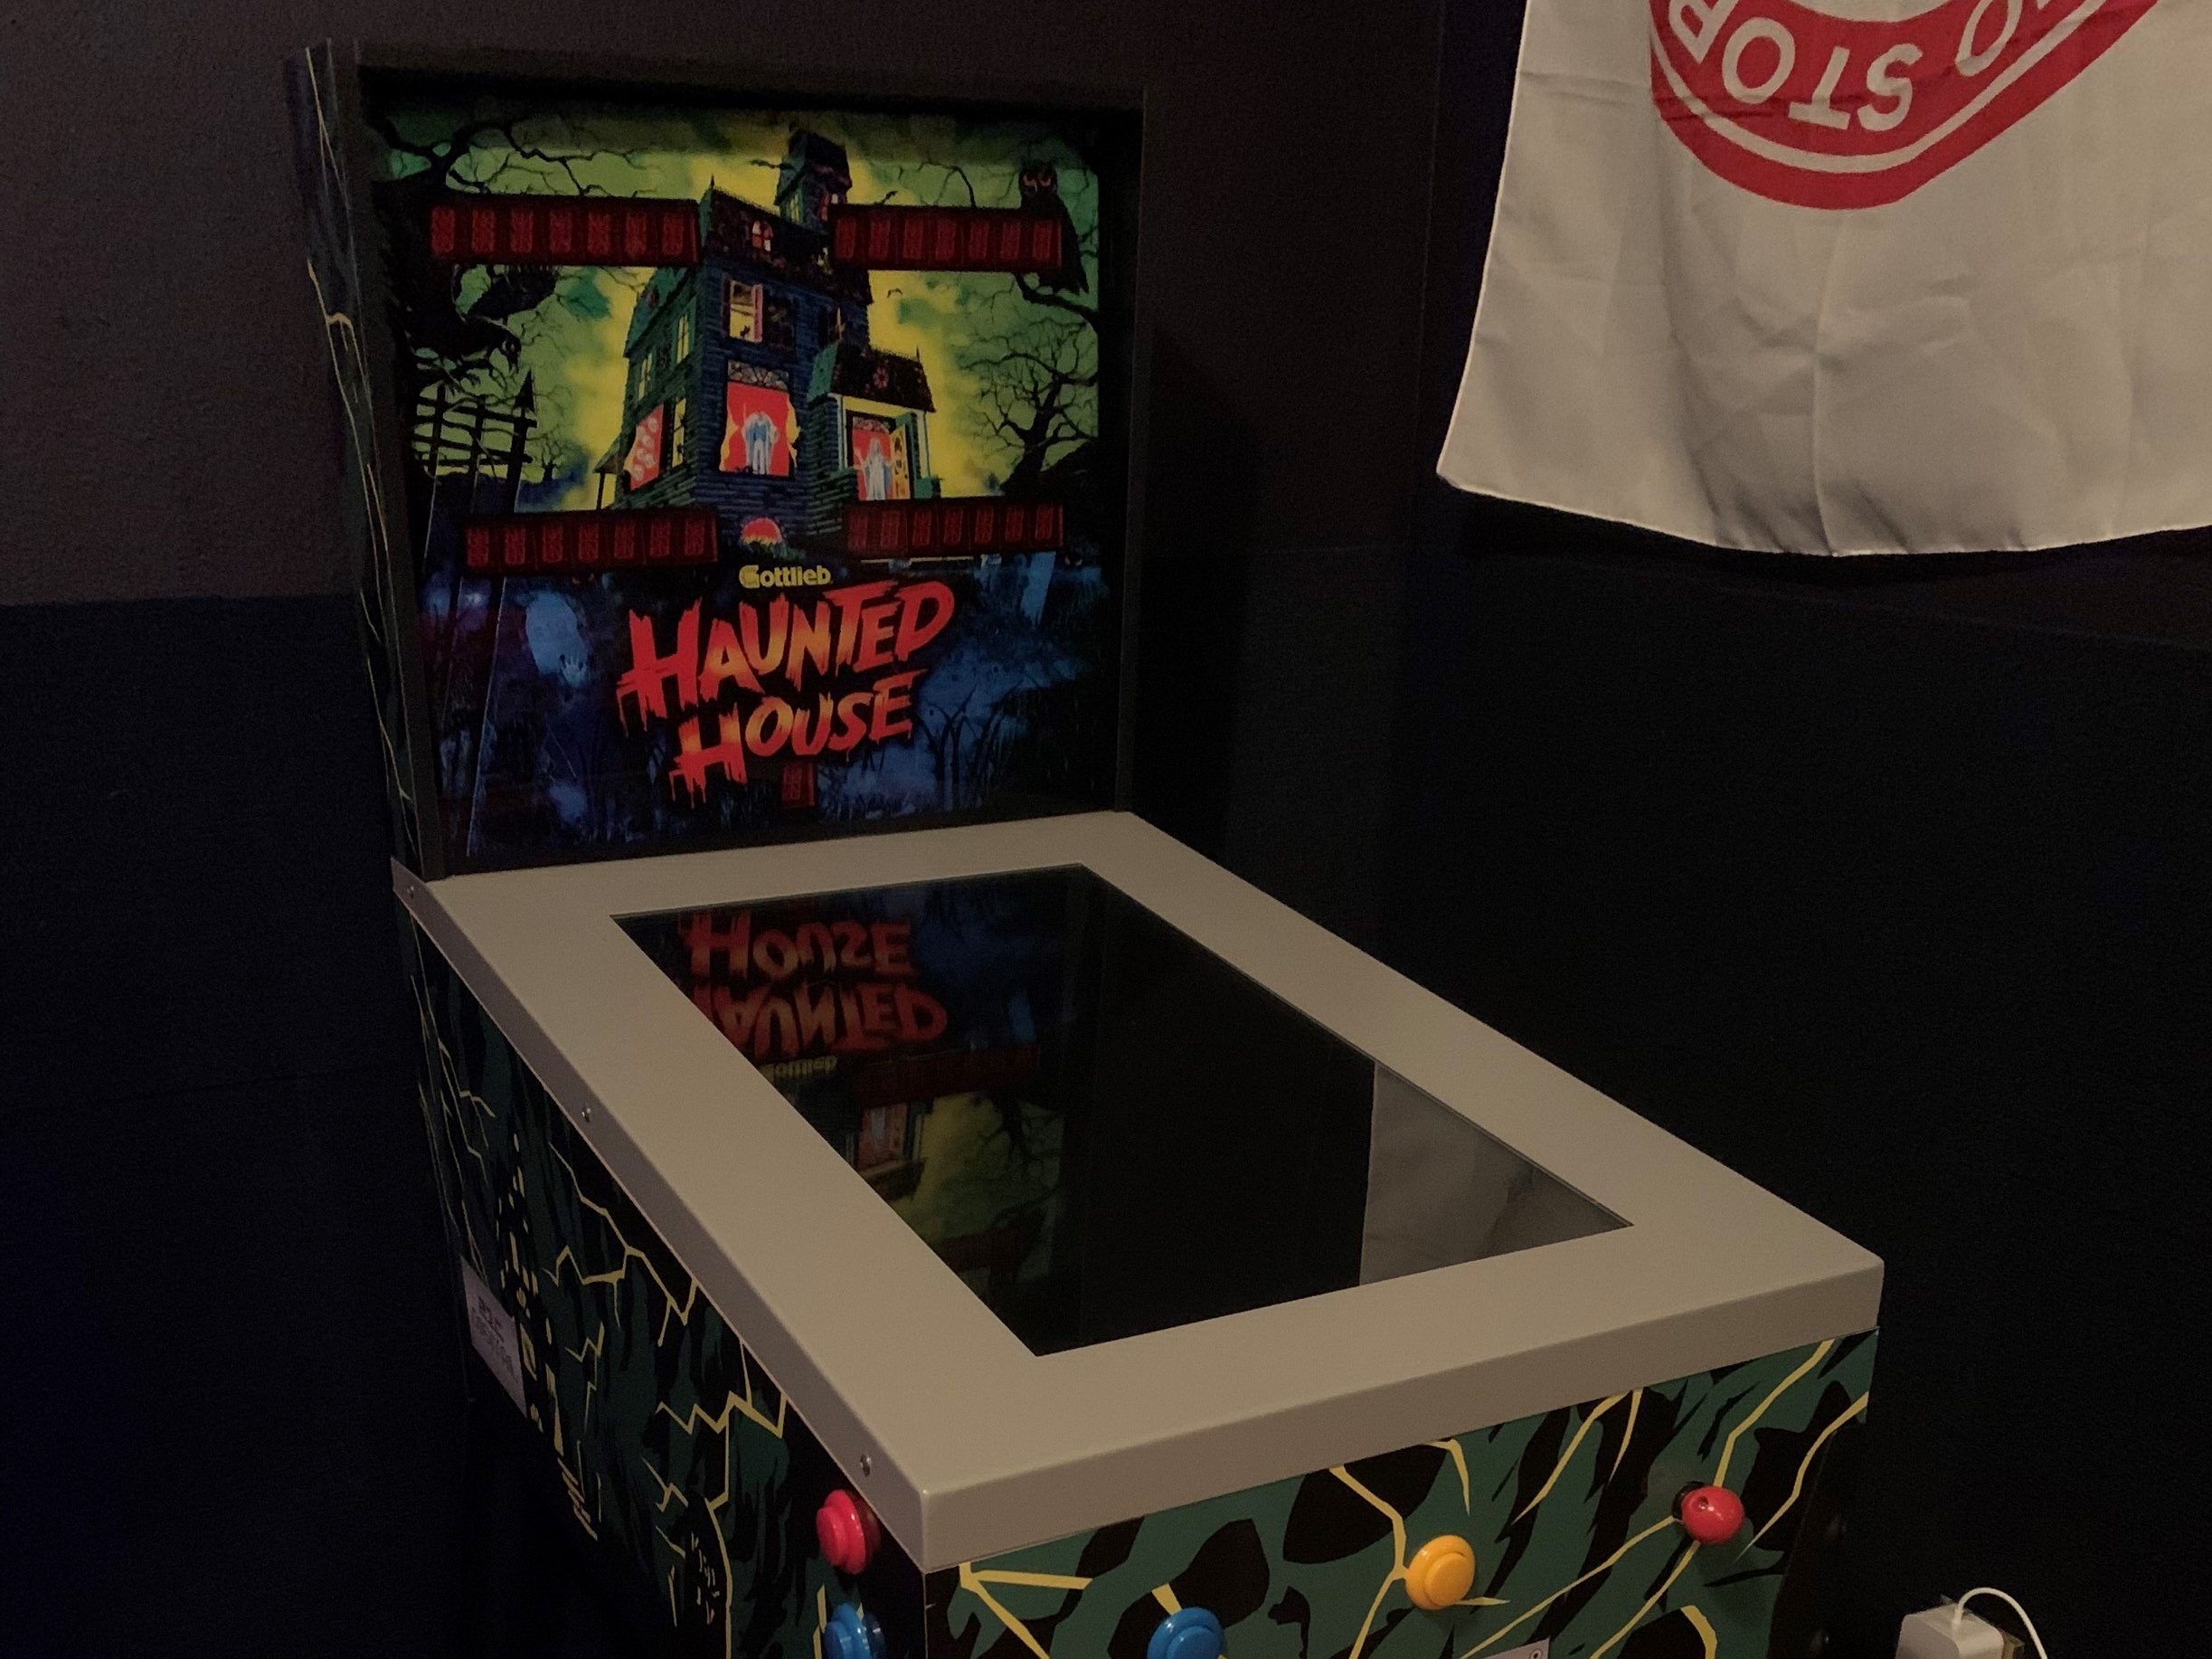
Virtual pinball cabinet
This one’s more complicated (but more fun, too). Here are some steps to get the machine up and running.
Make sure the power is on to the games (game switch near the door. Top is on, bottom is off).
Make sure the pinball playfield is on. The Samsung remote under the pinball machine controls the playfield.
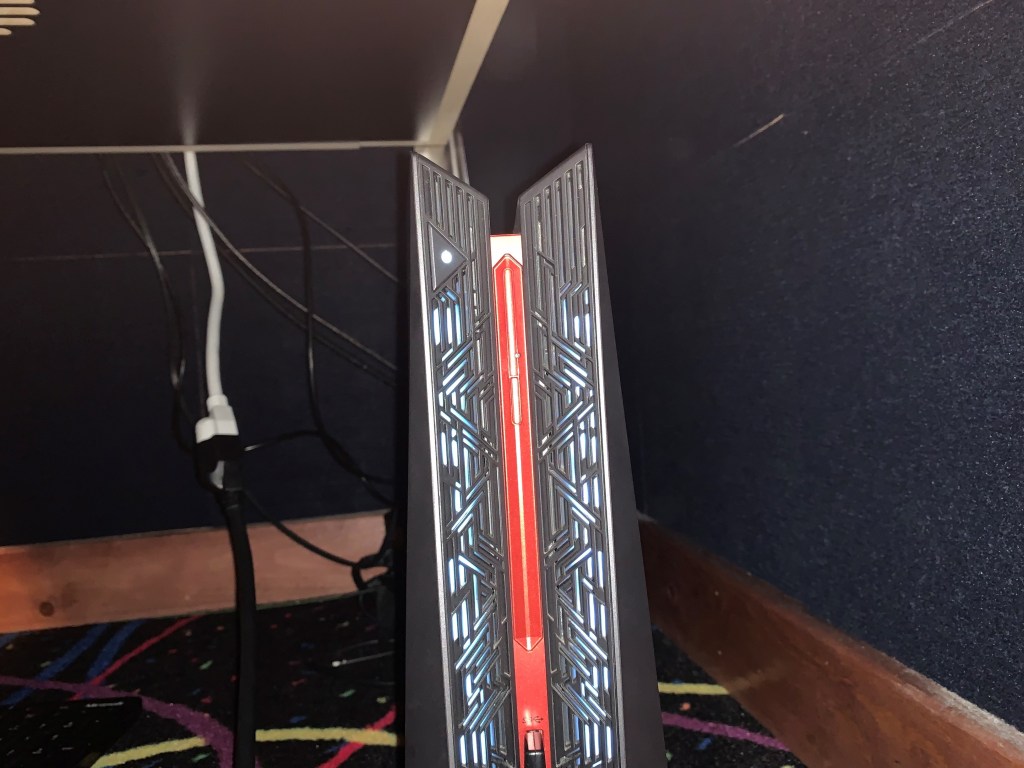
Make sure the computer under the pinball machine is turned on. The power button is on the top-left corner of the front of the computer.
Sometimes the PC is on but not responding. Press and hold the power button until the PC turns off, then turn it back on again.
Pinball should start automatically, but if it doesn’t (and lately there’s been a little exception dialog asking to continue/quit popping up on reboot) you can use the mouse under the pinball table to fix it.
If the exception dialog is up, click quit.
Run the pinball fixer on the desktop. It will reset everything and should get you back to the game selection Pinup Popper.
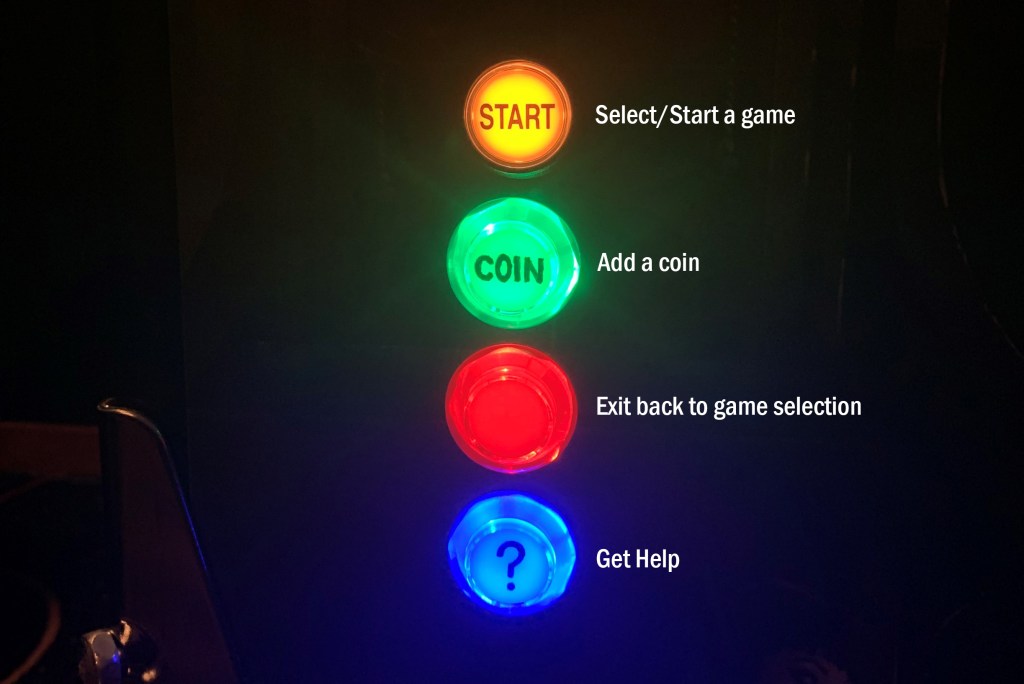
The white buttons on the sides of the cabinet are the flippers. The will scroll through available games.
The yellow start button will launch a game.
Most games need “coins.” The green button will add a coin.
The yellow start button will start the game when it’s ready.
The red button leaves the game to pick another.
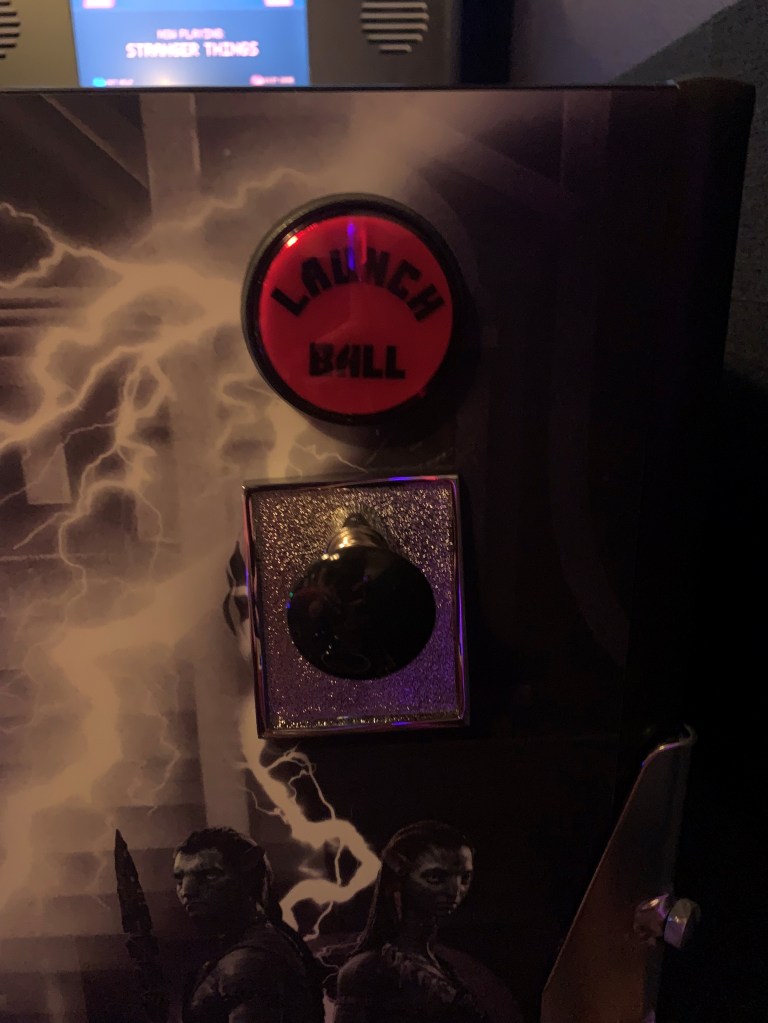
There are two ball launchers. The mechanical plunger doesn’t work for all games (the Zen Pinball FX3 tables, to be specific, which were too laggy with it on), but you can always use the launch ball button. You can hold the launch ball button to pull the plunger back and release it with the strength you want.
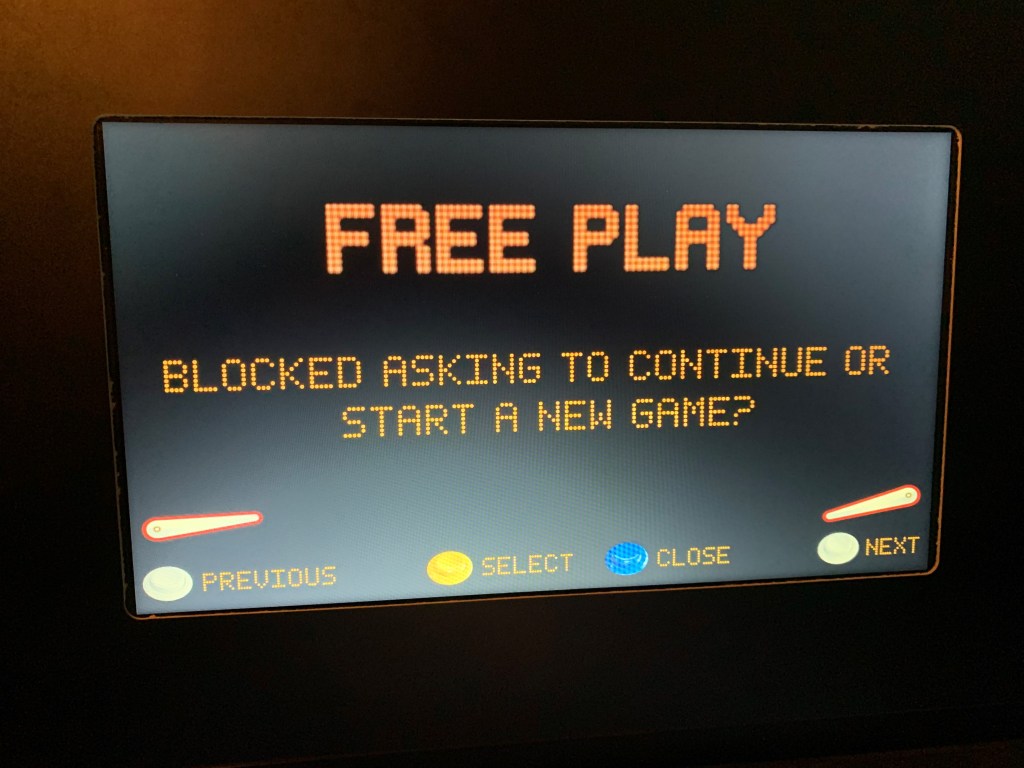
The blue help button can be used to fix all kinds of problems, like if the buttons aren’t responding, you’re being asked to continue or start a new game, etc. The help screen will appear in the lower portion of the backglass.
Use the white flippers to look through common problems, the yellow start button to apply a fix, or the blue help button to close the help screen.
Steam can cause problems (these are the Pinball FX3 tables). If you’re having a problem launching one of these you can try this:
If you’re not already back on the desktop, on the game selection screen press ‘x’ on the keyboard to exit.
Use the mouse to make sure the computer is connected to a Wi-Fi network (neverland or neverland-guest).
Kill or re-run Steam.
Run the Pinball Fixer and try again.
We’re always working on improving the pinball fixer and help screen to eliminate all of these problems, but the software is a bit ragged. Let us know if you find other tips that helped you!
There’s a waterfall out near the driveway. It’s especially lovely to have on when you’re using the firepit!
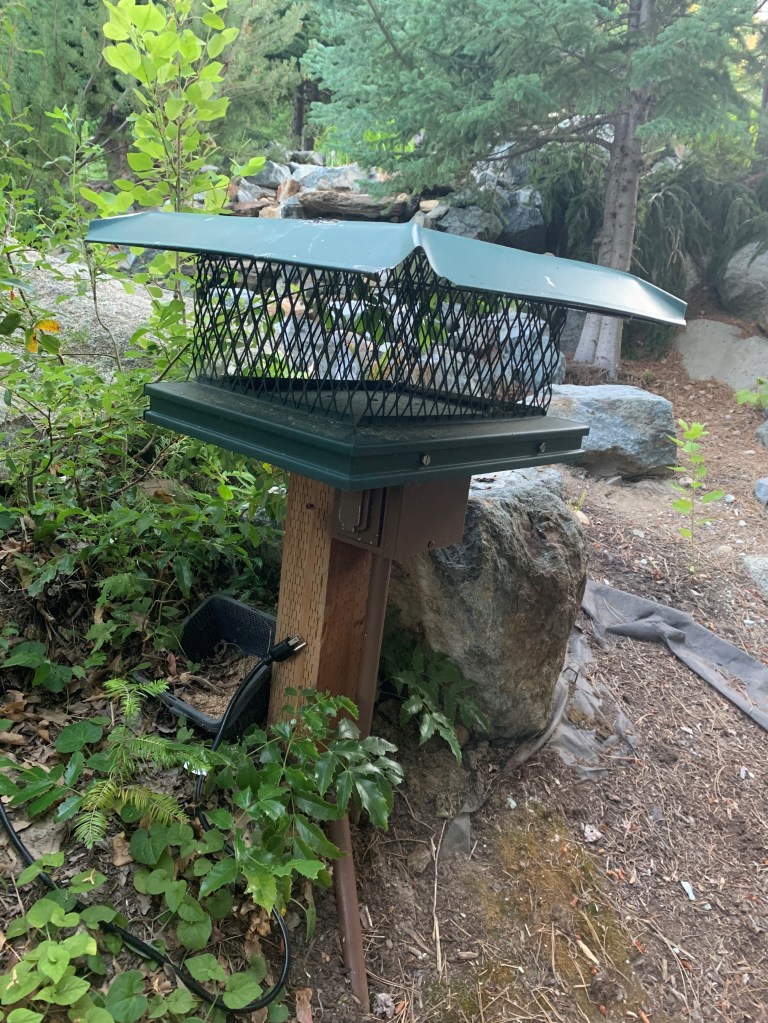
Turning the waterfall is simple; just plug it in. The plug is on the North side of the waterfall, as pictured here:
When you’re done, just unplug it again.
If the water level seems especially low (which happens in the high heat of summer) there’s a hose on the East side of the house you can drop in near the top to add water. Try not to overflow the pond; we’ve forgotten and done that a couple times…
We have two firepits for you to enjoy during your stay. This is a high fire danger area, especially in July and August, and we want to do our part to keep everyone safe.
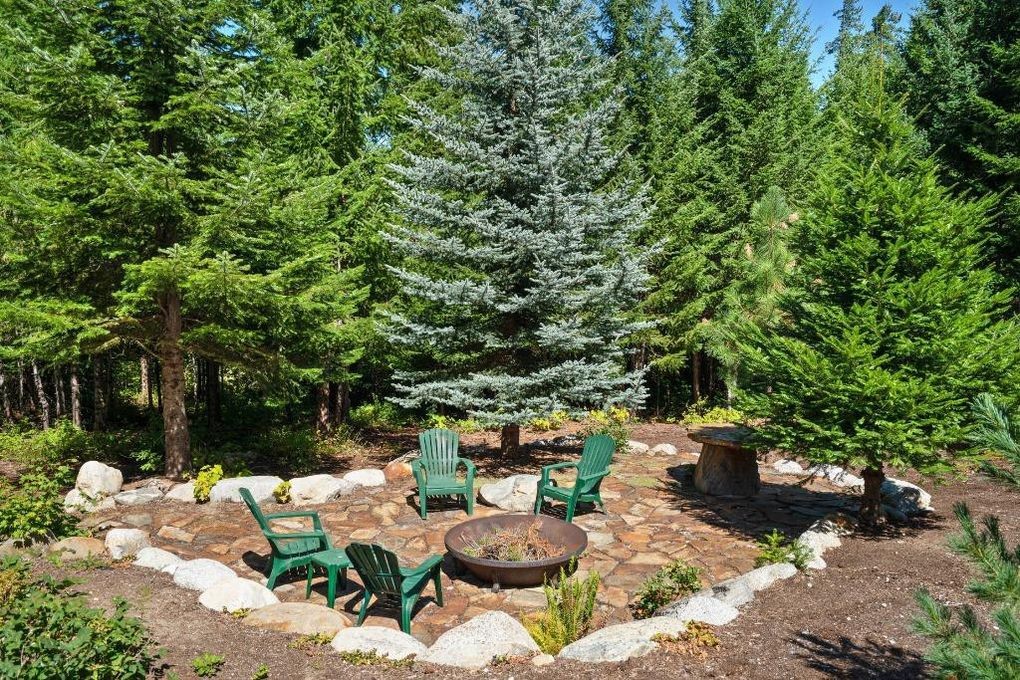
The largest one is by the waterfall along the driveway. This firepit also has a large table for food prep and serving. This is the great outdoors, so please do not leave any food unattended and bring all garbage inside when you are through.
Please check for fire danger (link) before using the firepit.
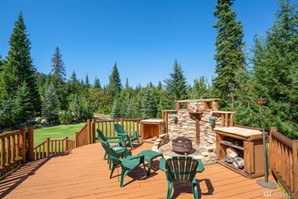
The second firepit is on the back deck and is smaller than the other one. We ask that fires you make in this pit remain small; in the winter you can find this smaller firepit near the front of the Lodge. Again, please bring all food indoors when you are finished.
There are fire starters next to the fireplace in the great room if you need them.
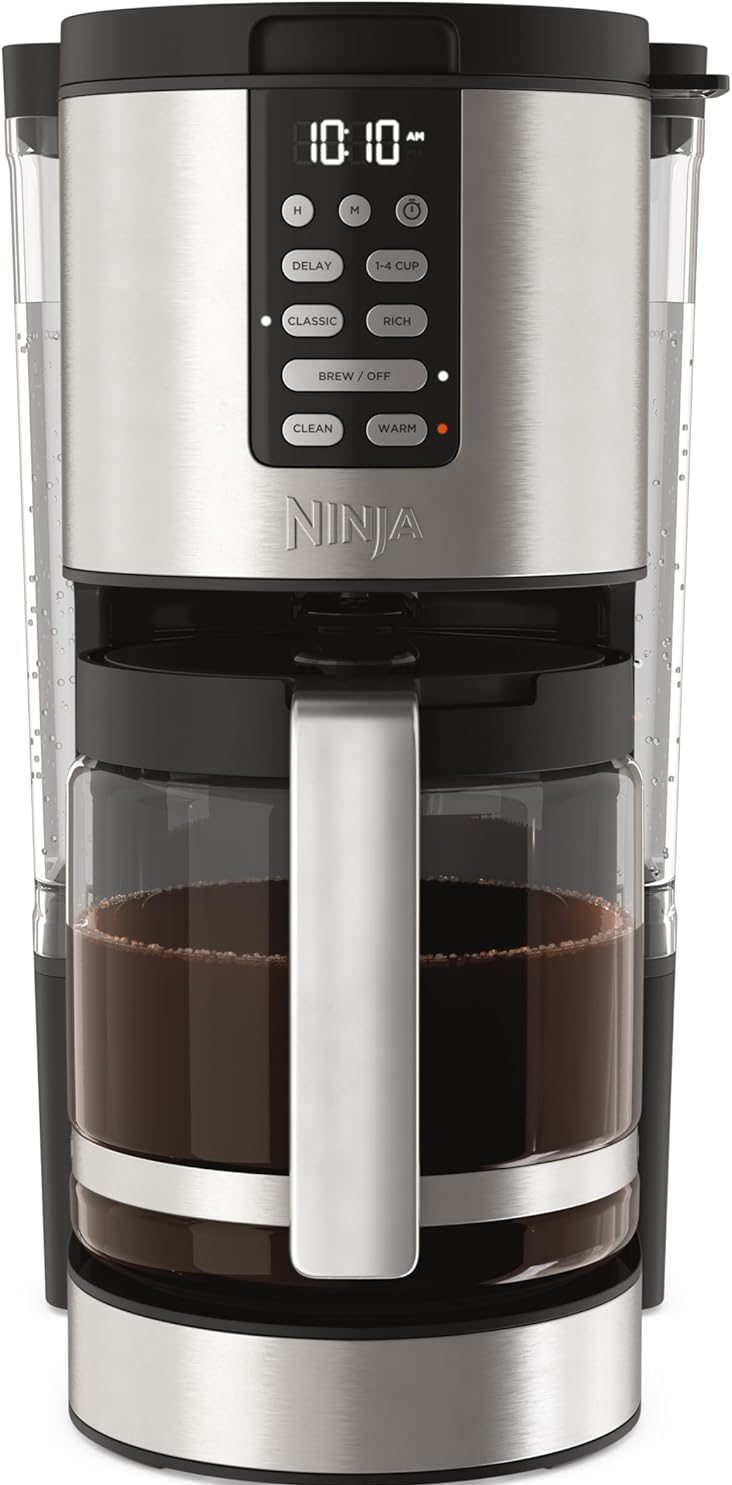
You have three coffee options, a Ninja 14-Cup Coffee Maker Pro, a DeLonghi espresso maker and a pour over.
Ninja 14-Cup Pro
1.Fill Water Reservoir: Remove the 70-oz. water reservoir and fill it with fresh, filtered water up to the desired brew line. Replace the reservoir securely.
2.Add Coffee Grounds: Place the permanent filter into the filter basket. Use the integrated Ninja scoop to add your desired amount of ground coffee. For optimal results, refer to the recommended coffee-to-water ratios. Close the filter basket lid.
3. Position Carafe: Ensure the 14-cup glass carafe is empty and correctly placed on the warming plate.
4. Brew Styles: Press RICH for a more intense flavor, ideal for milk, cream, or flavoring. Press CLASSIC for a smooth, balanced coffee.
5. Small Batch Function: If brewing 1-4 cups, press the 1-4 CUP button to optimize the brew for smaller volumes, preventing dilution.
6. After selecting your desired brew style (and small batch if applicable), press the BREW / OFF button to start brewing. The brew indicator light will illuminate.
7. Delay Brew: To program the coffee maker to start brewing at a later time:
Prepare the coffee maker with water and coffee grounds as described in Section 4.1.
Press the DELAY button. The delay indicator light will flash.
Use the H (Hour) and M (Minute) buttons to set the desired start time.
Select your desired brew style (Classic or Rich) and brew size (1-4 CUP if applicable).
Press the DELAY button again to confirm. The delay indicator light will remain illuminated, and the coffee maker will start brewing at the set time.
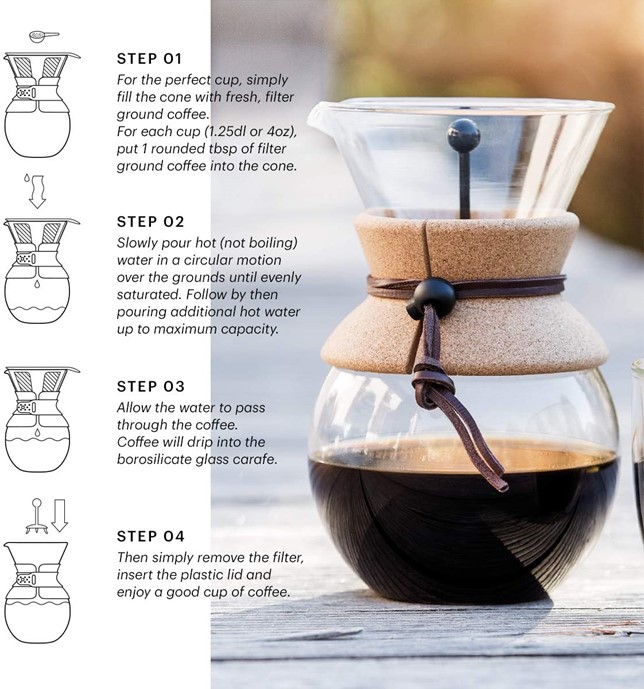
Pour over
Coffee filters are stored in the cupboard above the coffee makers, inside the filter tin.
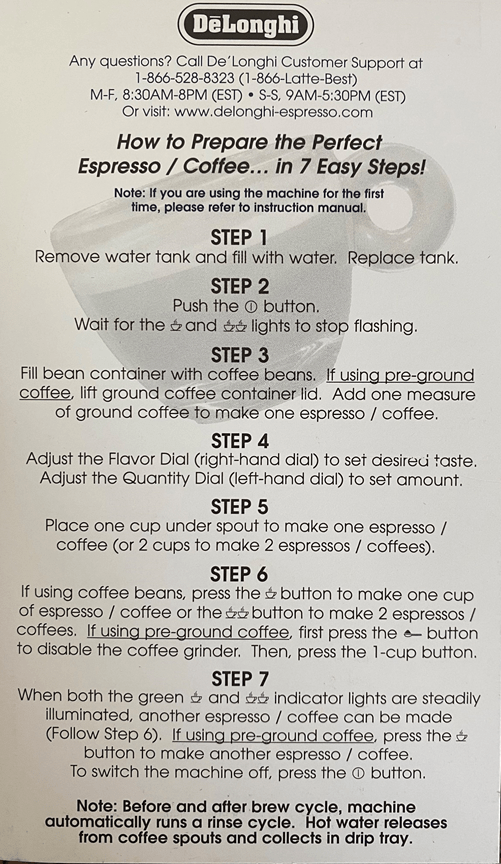
De’longhi espresso maker (Located in Main Bedroom)
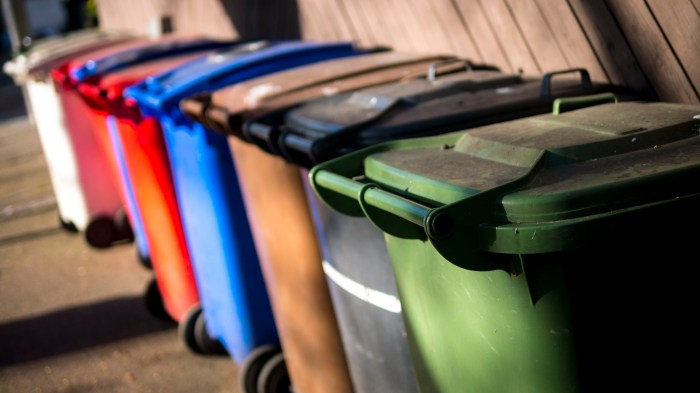
There is no garbage or recycle pick up here at the Lodge. Please pack your garbage and recyclables out with you when you leave.
The can under the prep sink (across from the refrigerator) and the can in the pantry can be used for recyclables (glass, cardboard, paper).
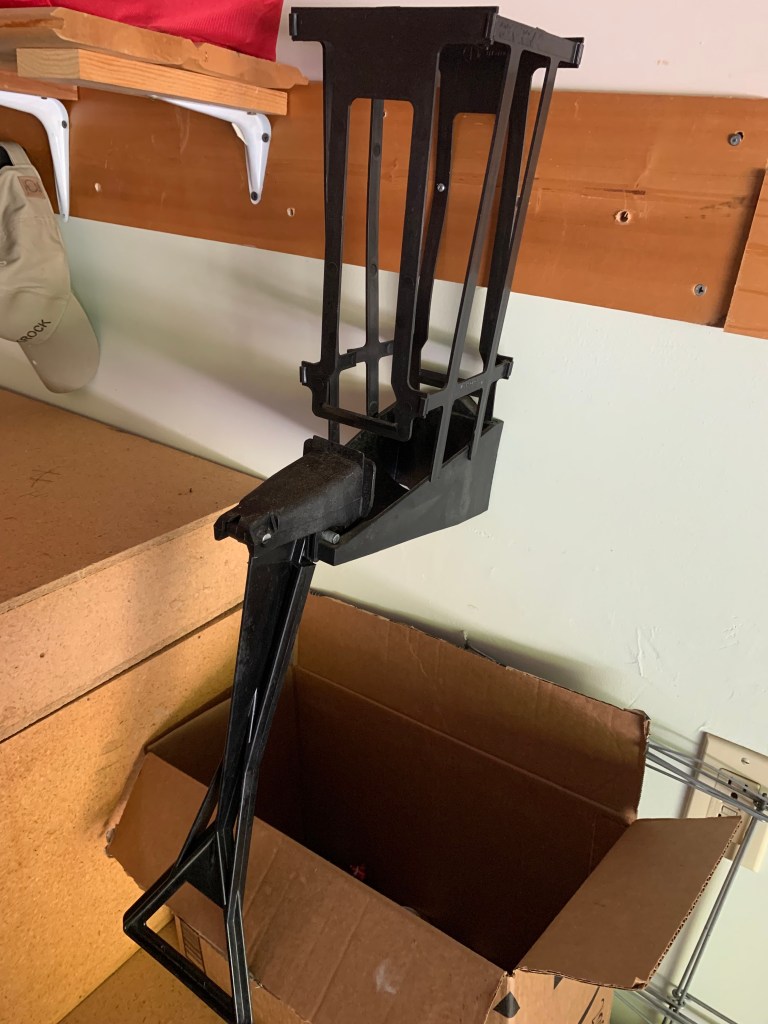
There’s also an aluminum can crusher in the garage. Just drop the can in the top (it should be laying flat across the bottom) and then lift the handle.
We no longer have a working compost bin. Please take all compost material with you when you leave. Thank you!
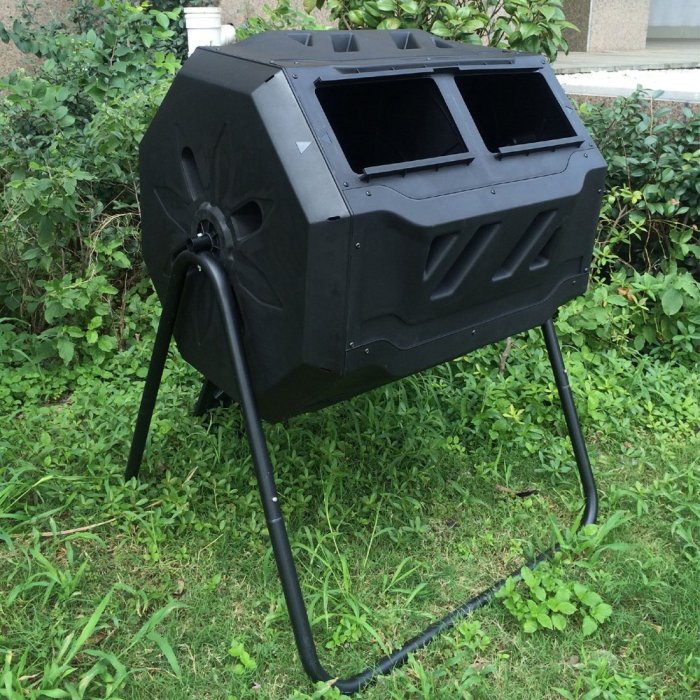
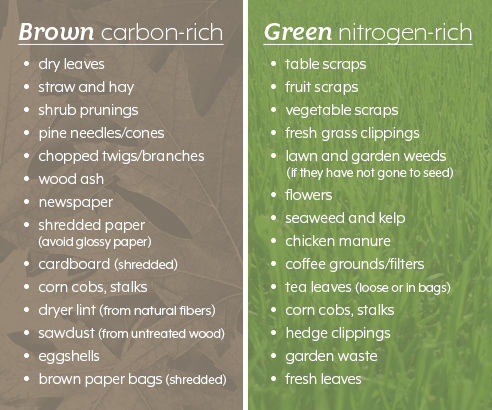
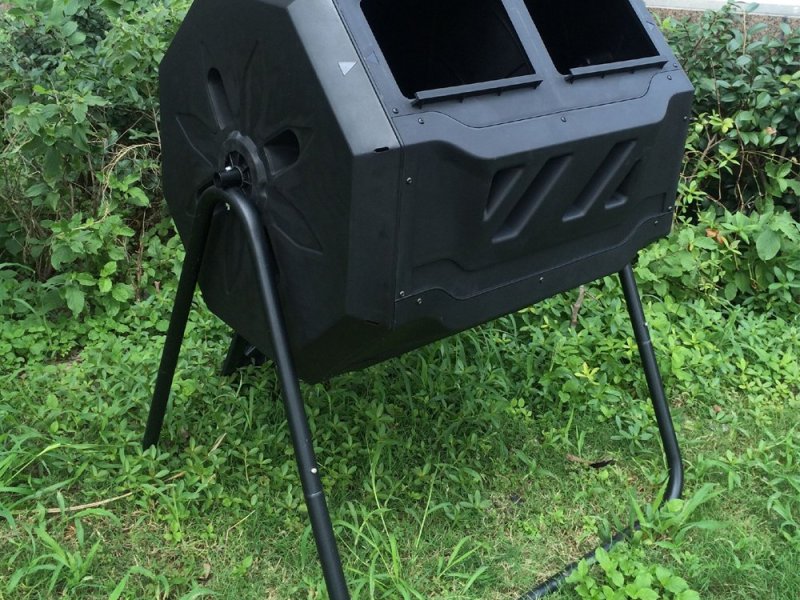
There’s a can and green bags for compost under the sink and a rotating compost bin (currently in the garage) that you are welcome to use. We have a friendly neighborhood bear (or two) that LOVE all the yummy food that goes into the bin, which is why for now we’re keeping it in the garage. If the bin has moved back outside please avoid adding meat, cheese, or fats. To keep the bears less interested we need to make sure we put two-parts brown compost to one-part green compost.
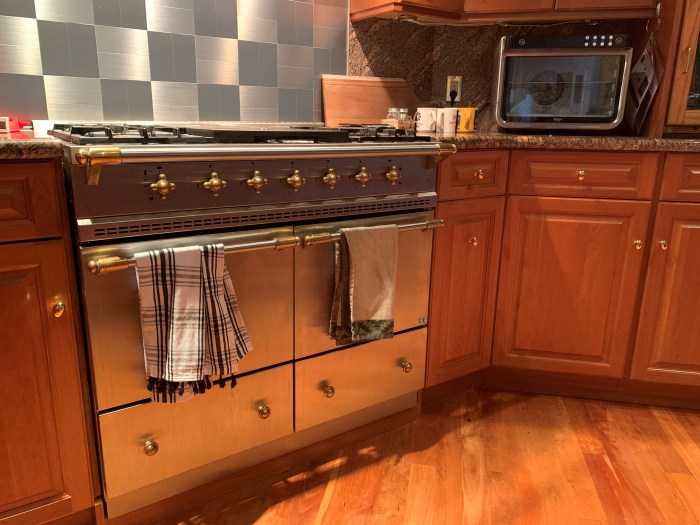
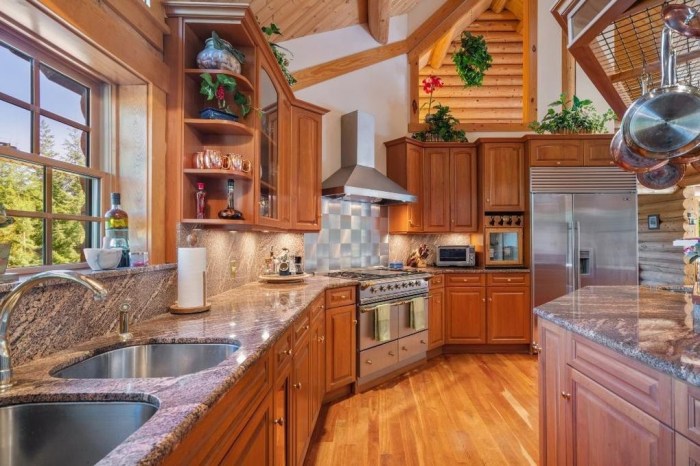
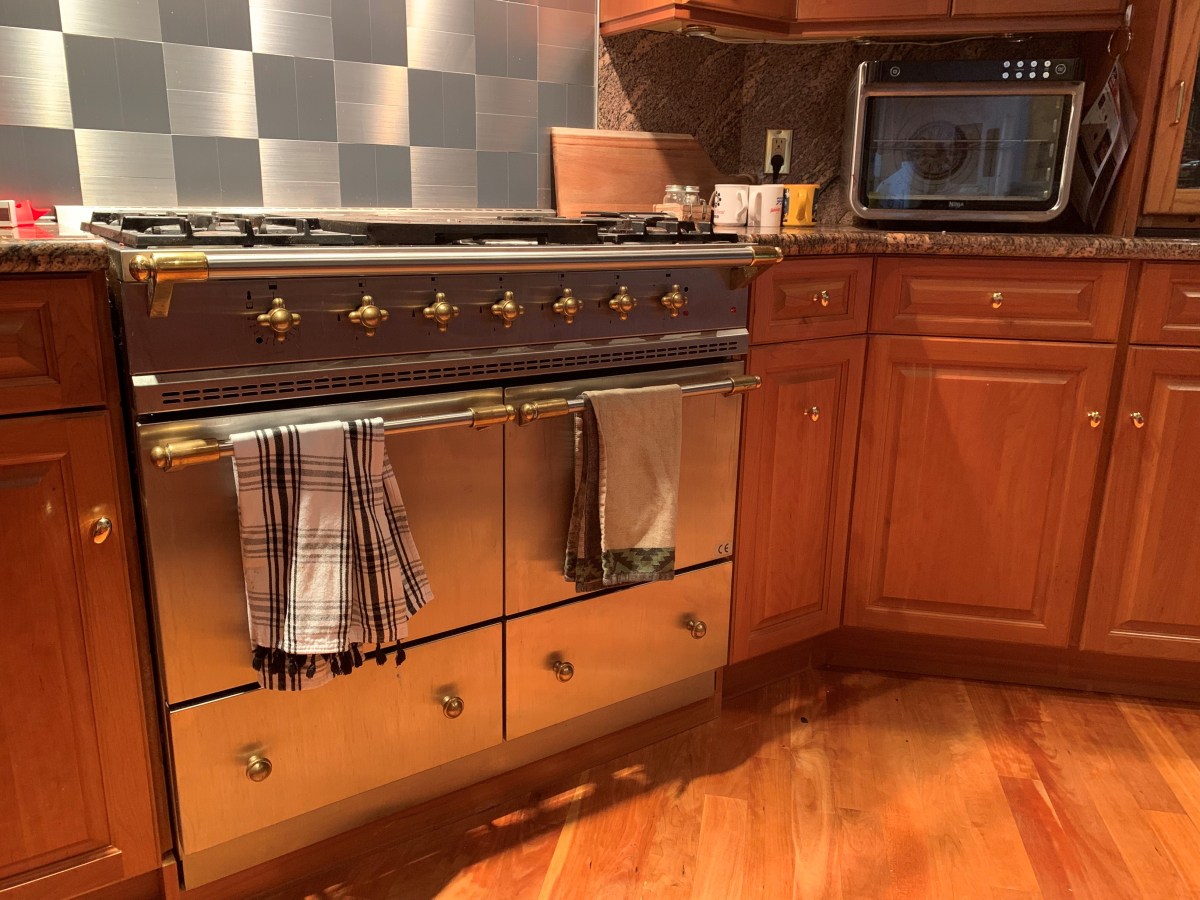
There are two ovens in the kitchen: the Lacanche stove/oven combo and a Ninja Foodi.
Lacanche range
The temperatures on the oven are in Celsius. There’s a conversion sheet next to the Ninja Foodi, or you can look up the conversion. We suggest cooking slightly lower than you typically would at home. Also, as you might have noticed, there are two ovens and both are slightly smaller than your average oven. Most pans we have fit in both, but you might want to double check before preparing your food. The oven on the left must be light using a lighter. The oven on the right starts and preheats by turning the dial.
Make sure to turn the dial all the way to the right when turning the oven off. It should click twice (and you don’t need to force it).
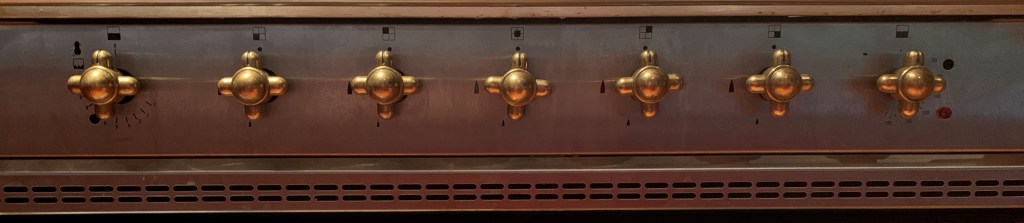
All the burners must be lit using a lighter. Lighters are in the same drawer as the potholders (see Where to find things in the Kitchen). Hold the lit lighter next to the burner, push in the knob for that burner, and turn the knob counter-clockwise to the arrow. When the burner is lit, turn further counter-clockwise to the level you want and then release the knob. To turn the burner off turn the knob back to the vertical position.
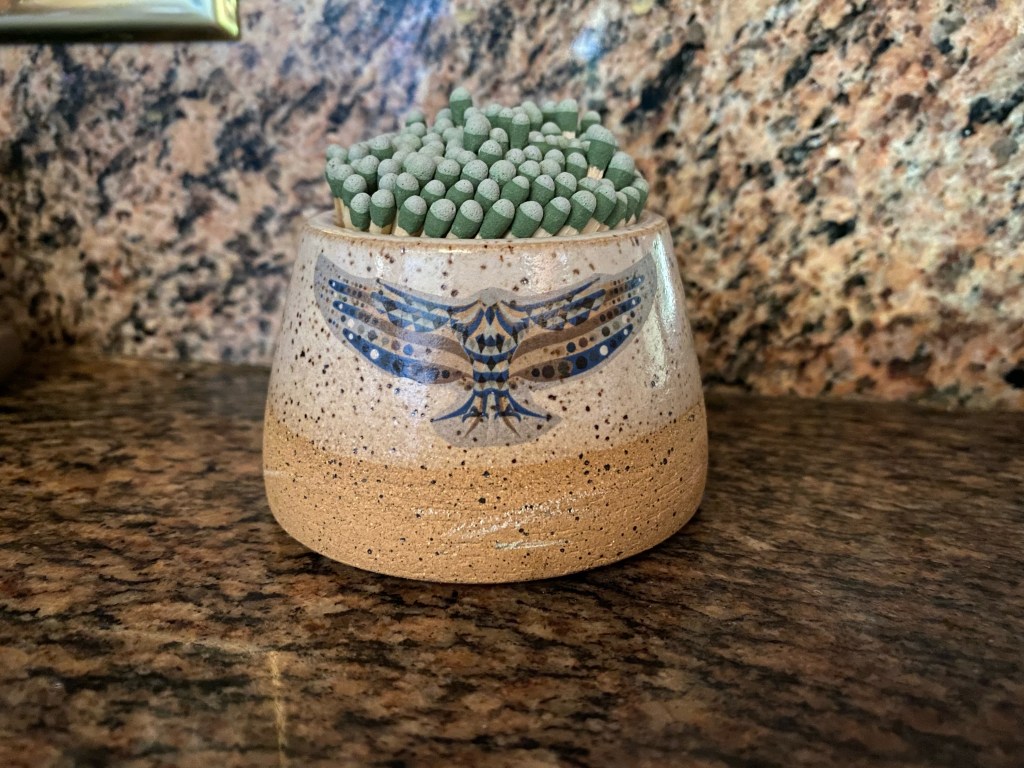
If the lighters aren’t behaving there are also strike anywhere matches next to the range. You can strike them on the bottom part of the container they’re in.
The stove cooks hot, too.
Lastly, the griddle. Honestly we’ve only used it a handful of times. Lighting the griddle is like everything else, with a lighter. Remove the center cap – there’s a pole to do this in with the potholders and lighters (see Where to find things in the Kitchen). Insert the lighter and turn on the gas. Once the griddle is lit you can use the pole to reinsert the center cap. The center of the griddle is extremely hot so be careful. When you are done using the griddle wait for it to cool down before cleaning.
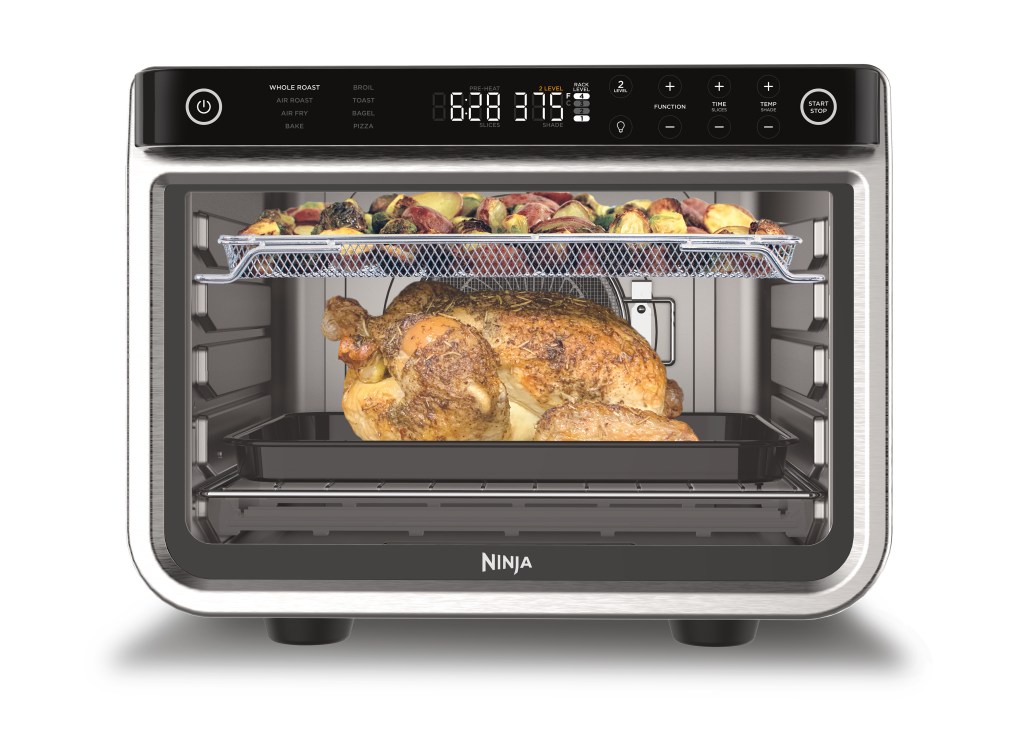
Ninja foodi
There’s a guide for using the Ninja Foodi next to it. The inserts to use with are in the drawer under the microwave.
It’s especially awesome for air frying french fries and tortillas…